How to use Clip-ins
It is easy to insert a Clip-on set yourself. It may take some practice to figure out where on your head the set looks and feels optimal (everyone has different proportions), but you’ll soon become a pro! It’s a good idea to wash the hair extensions before using them for the first time. For best results, the hair may need to be trimmed at the hairdresser’s.
How to attach
How to attach
Create a horizontal parting using a tail comb and secure your hair over the parting with a hairgrip. Backcomb your hair in sections. If necessary, use hairspray on the backcombed hair.
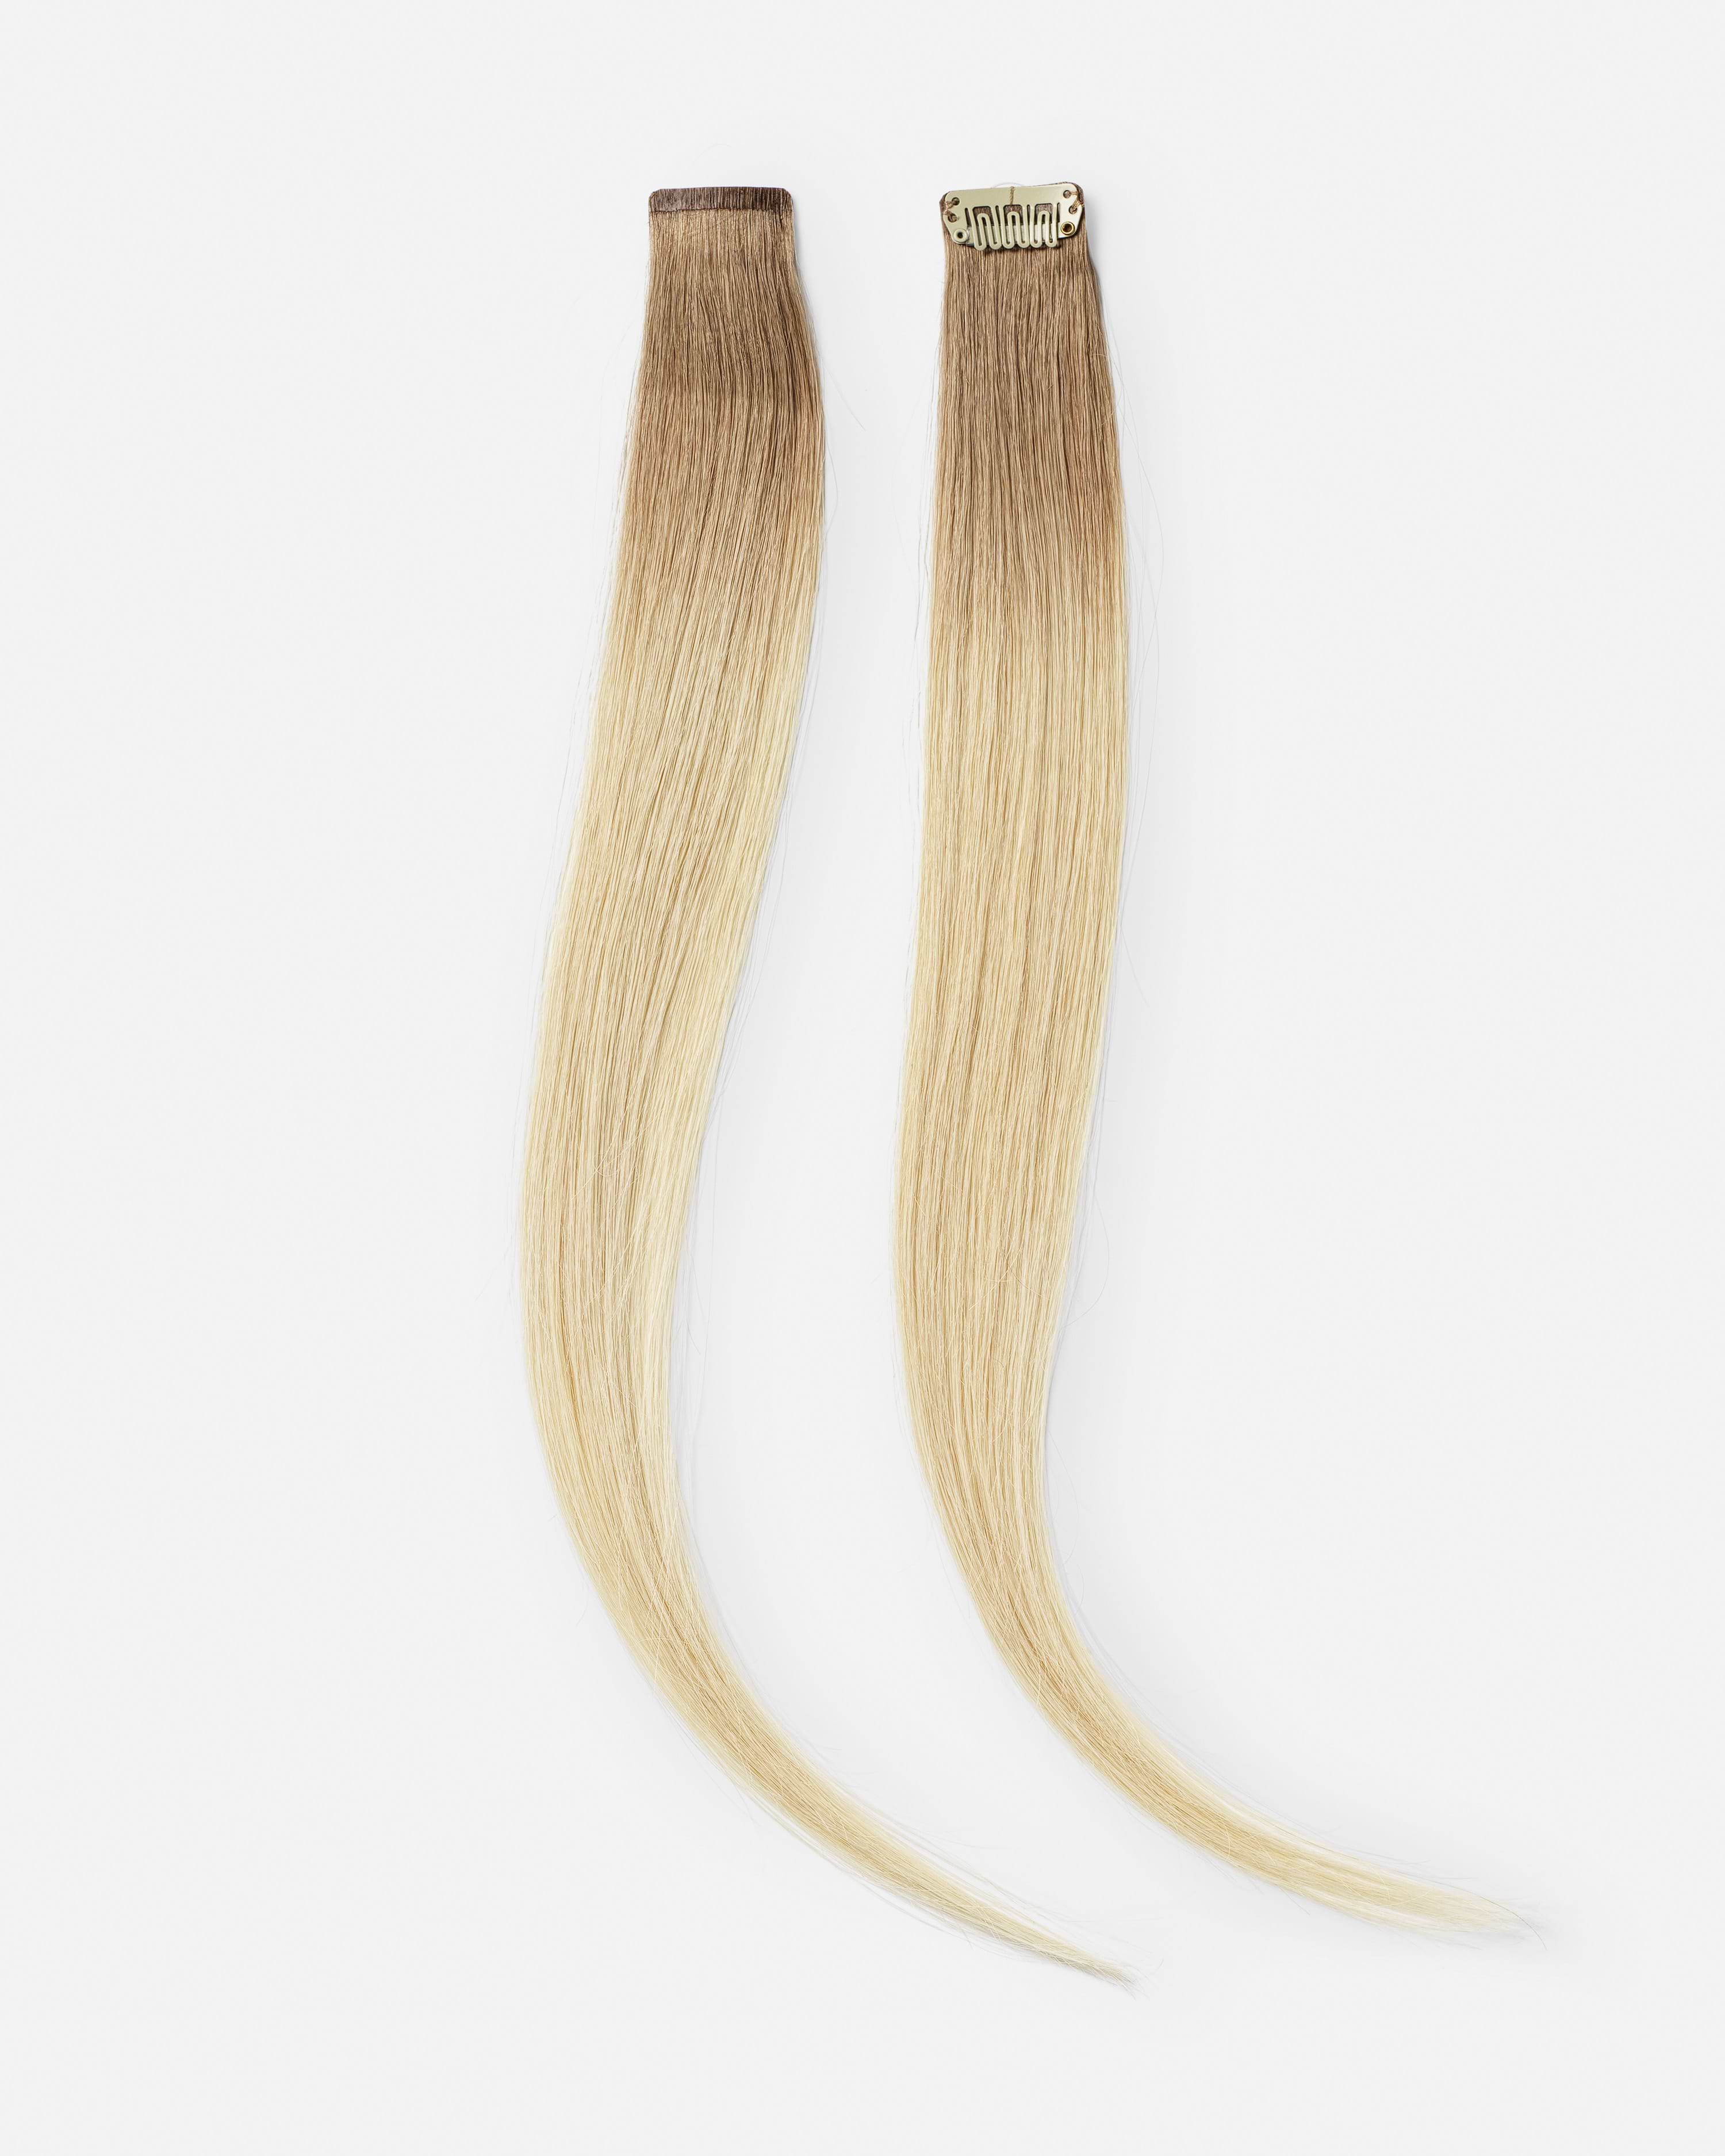
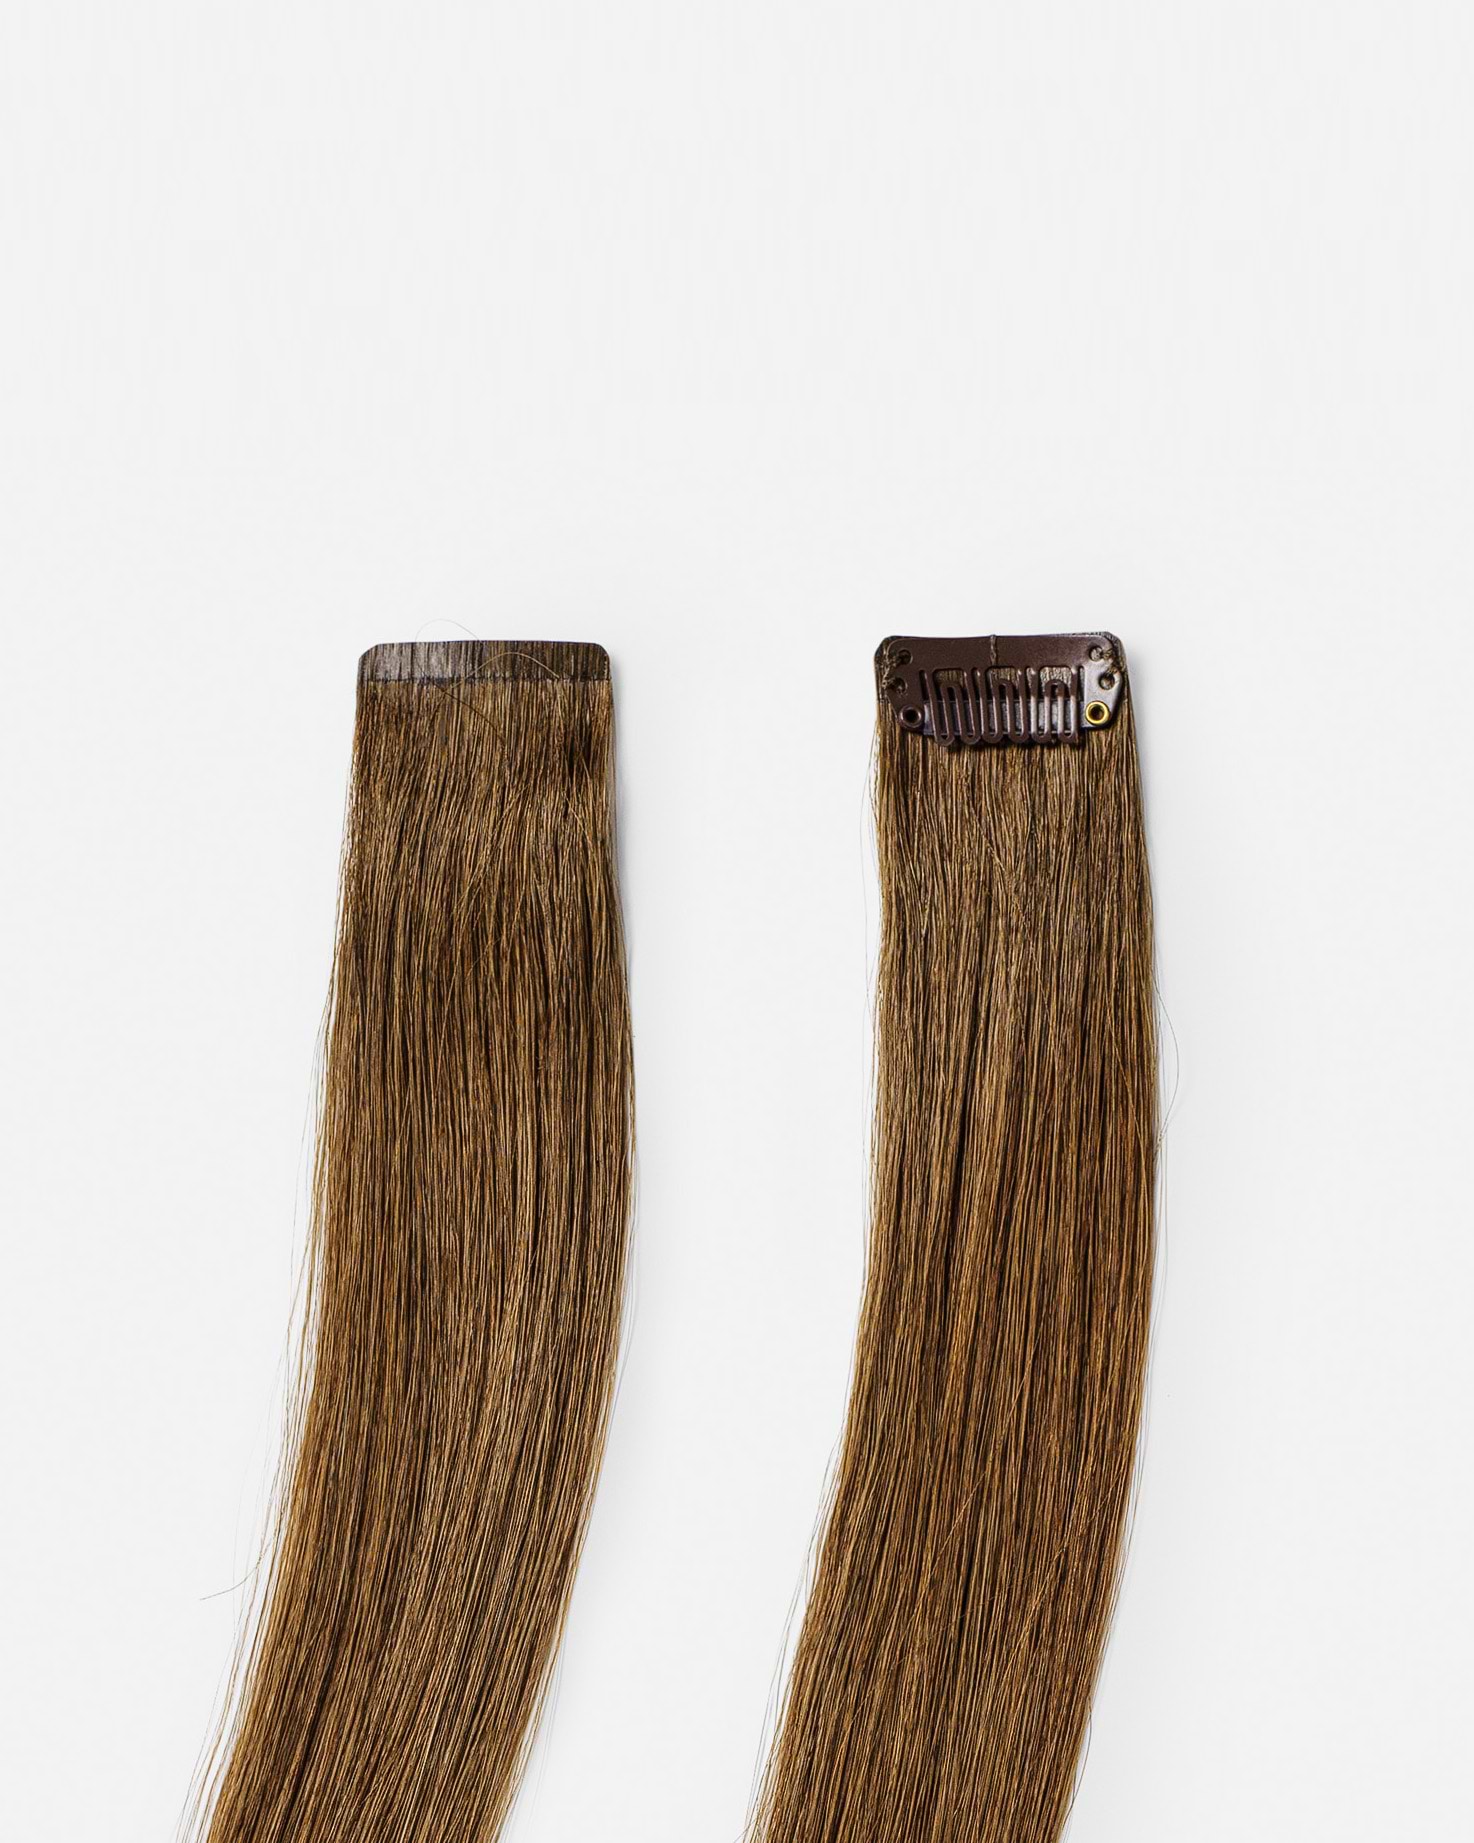
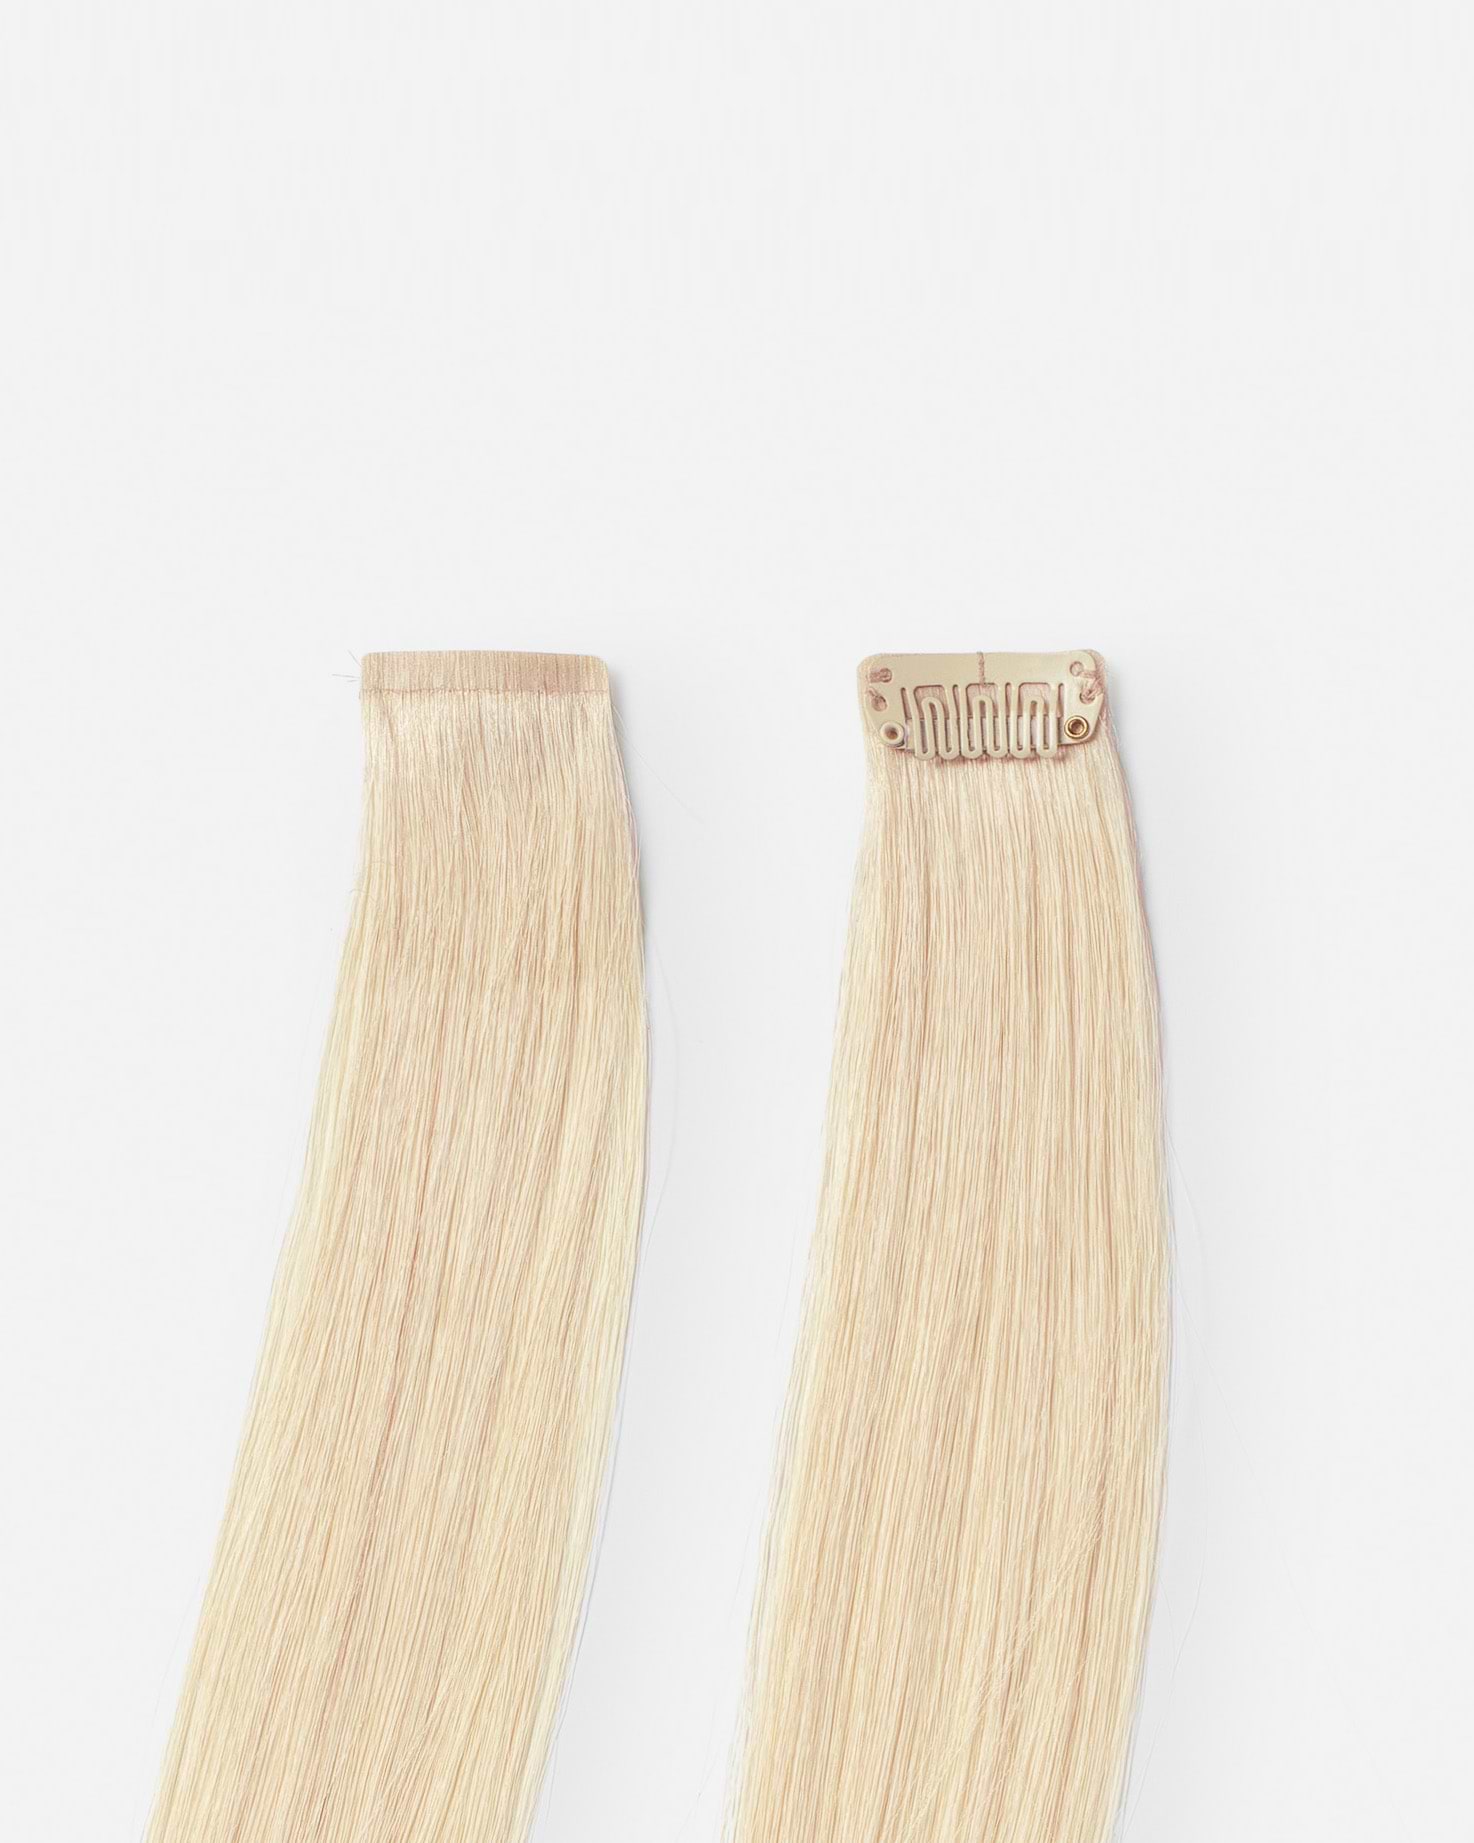
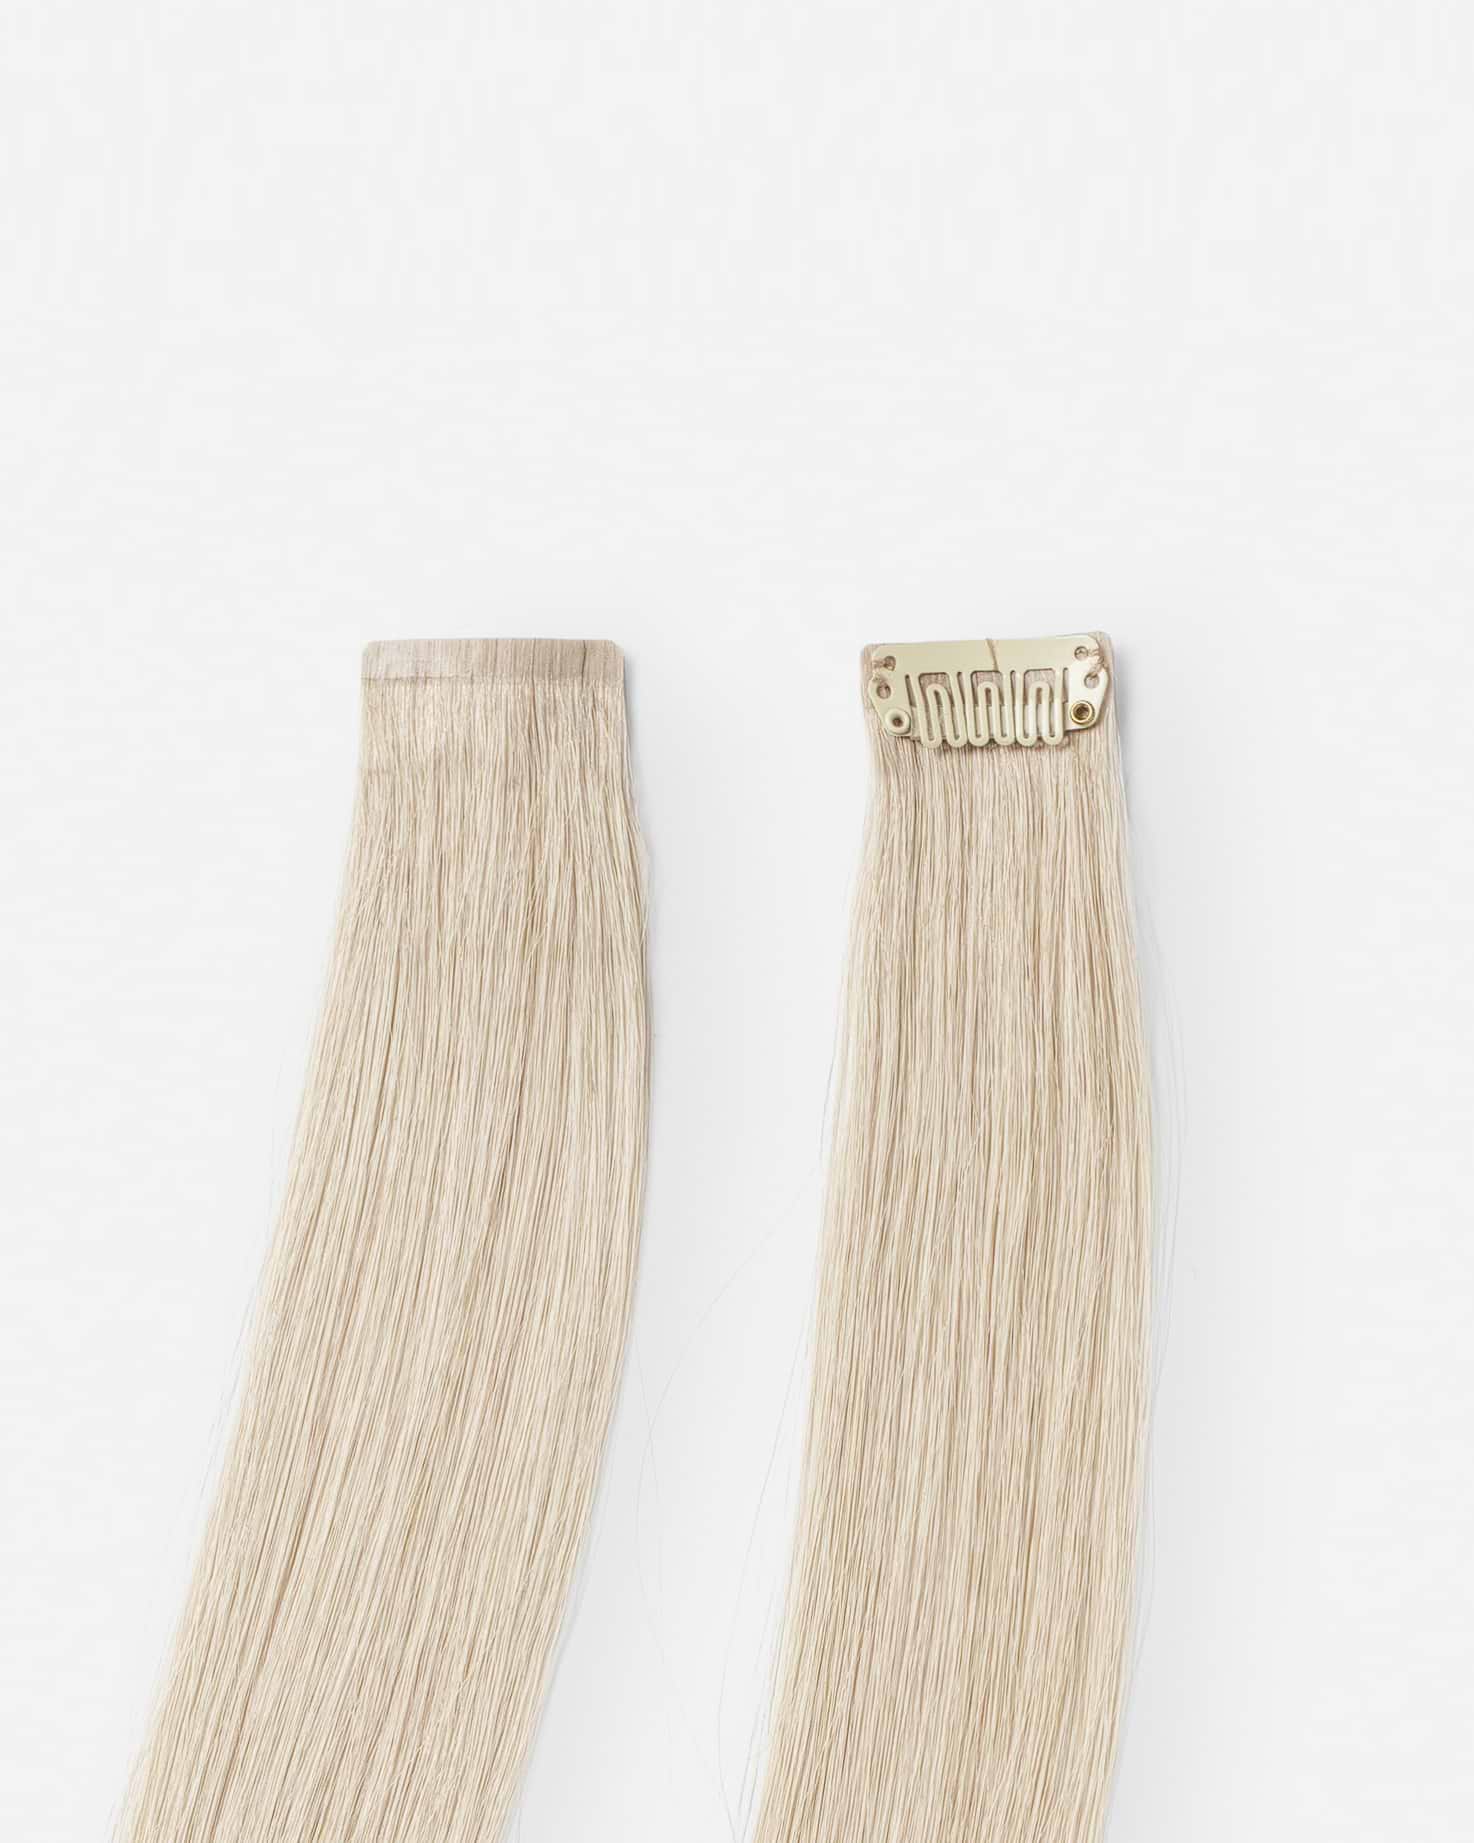
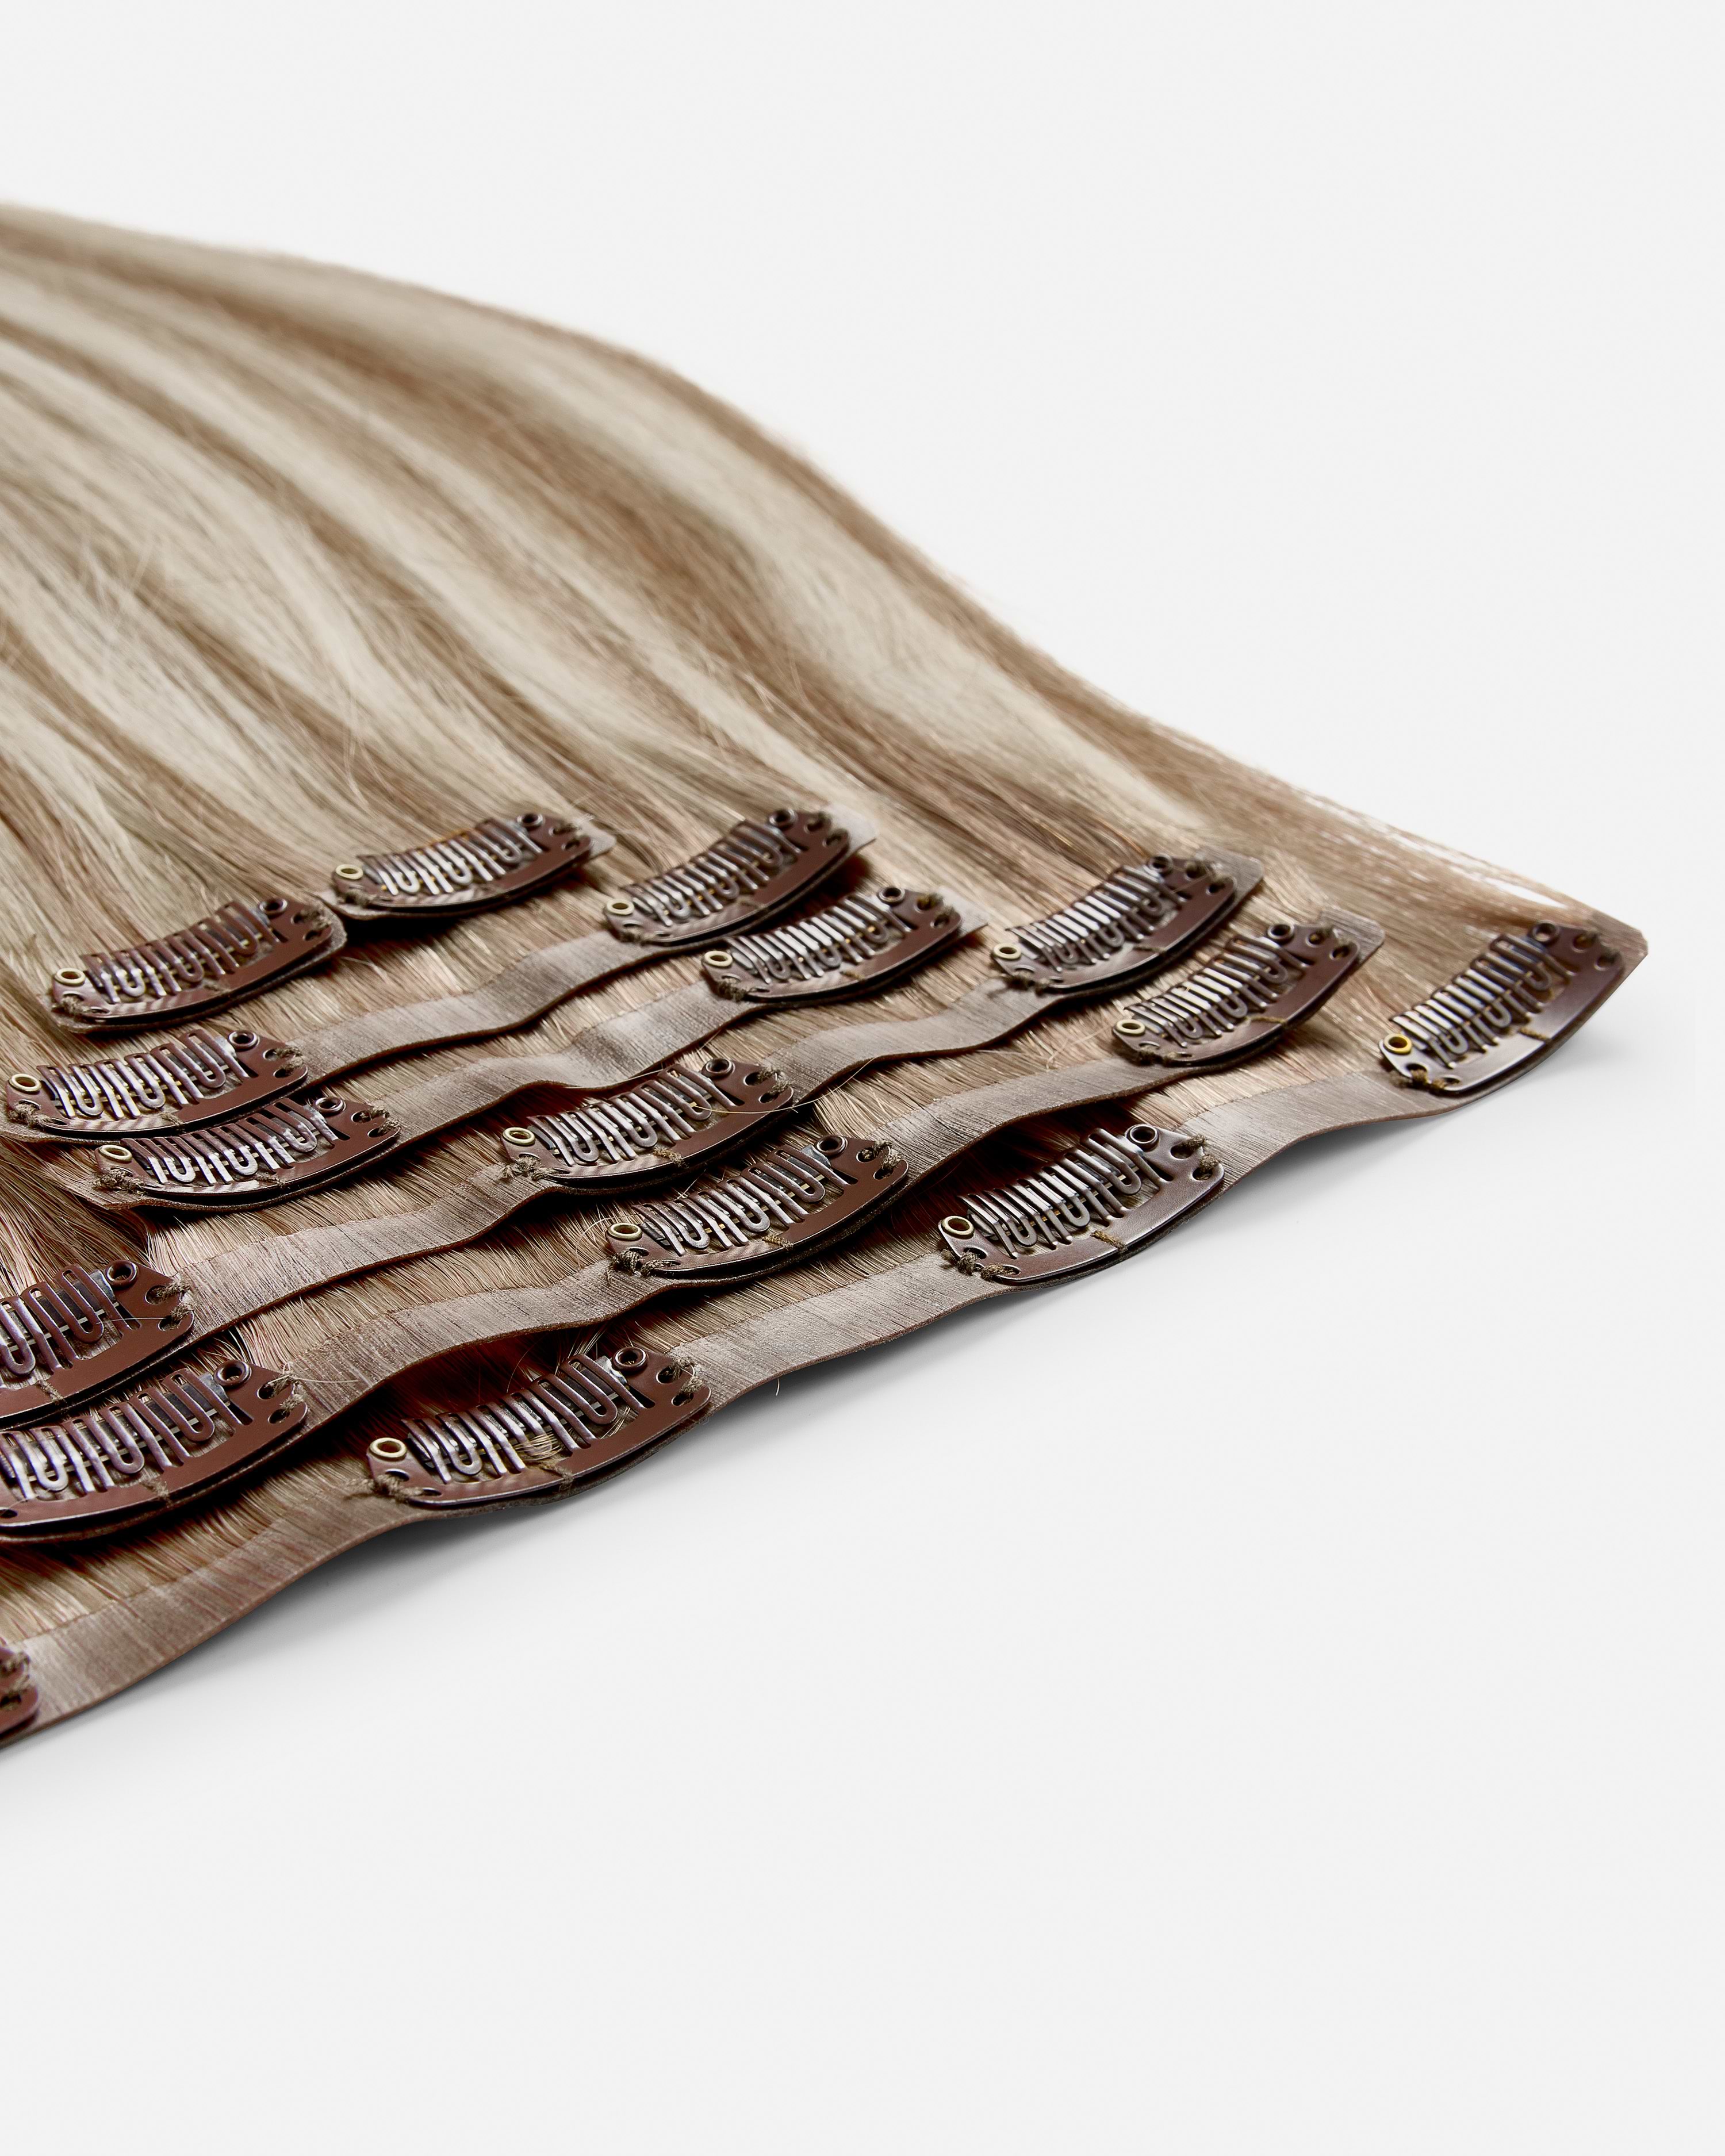
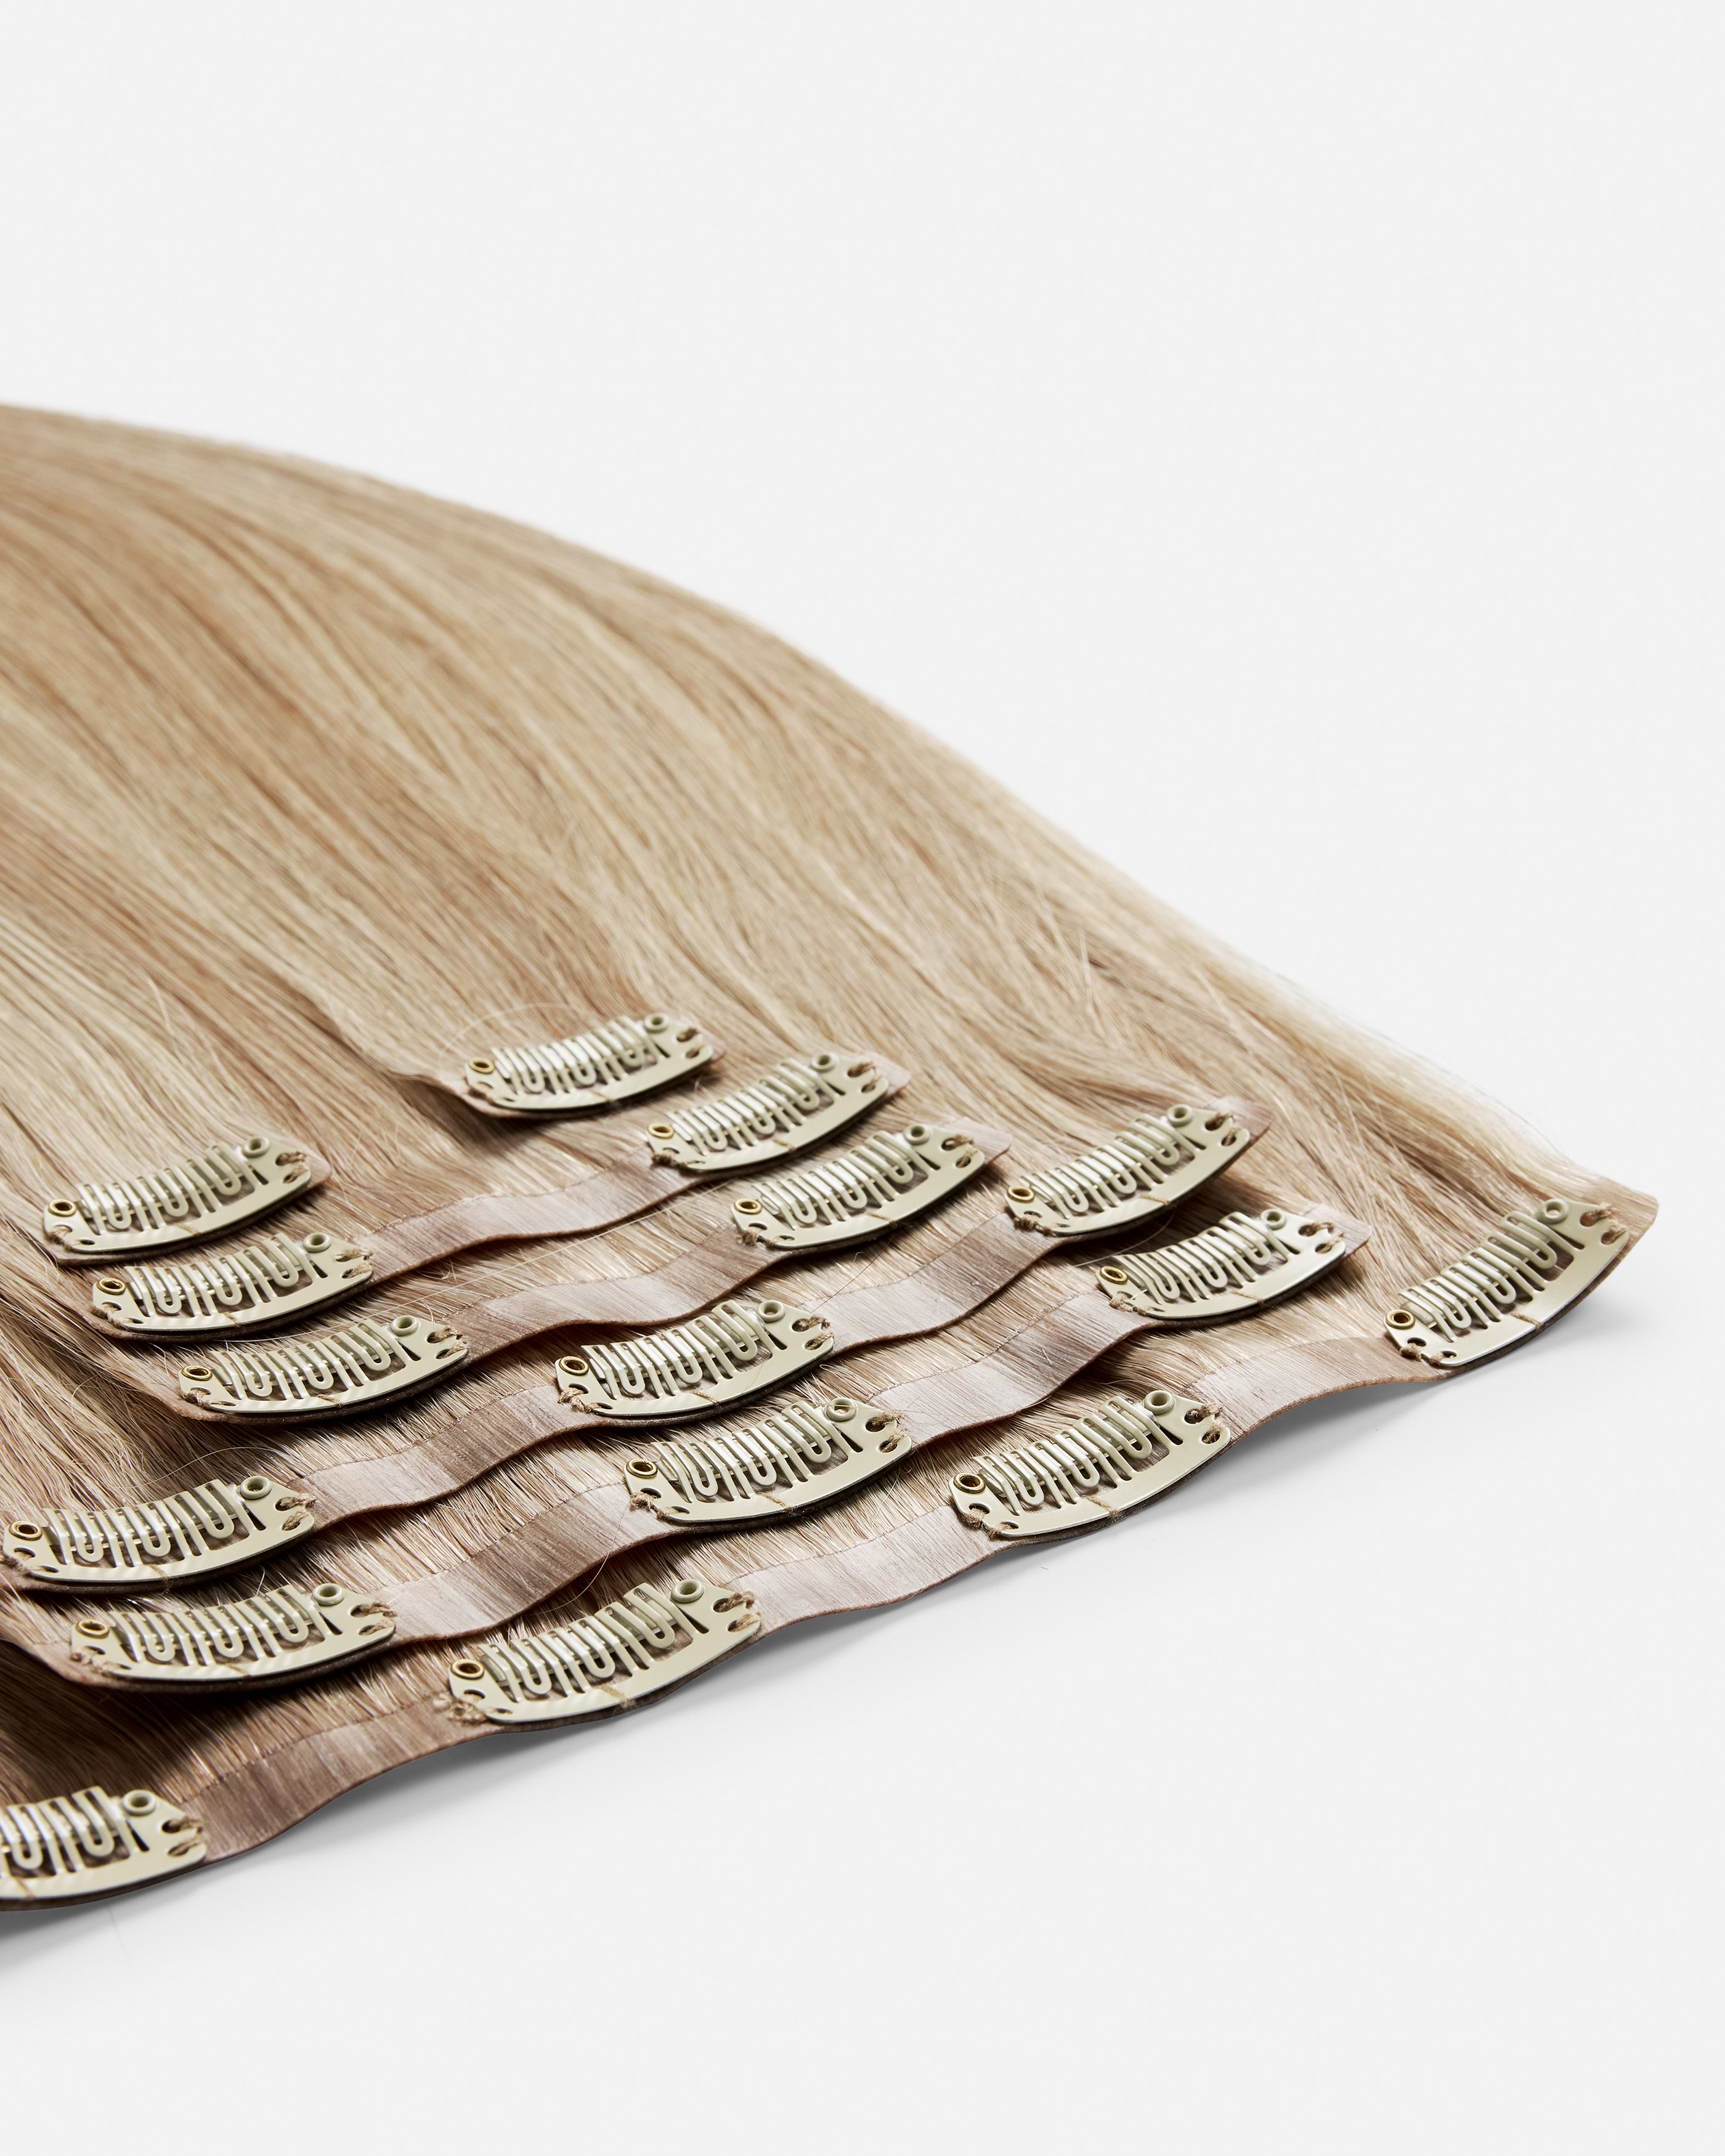
Attach the clips to your own hair by bending them until you hear a click.
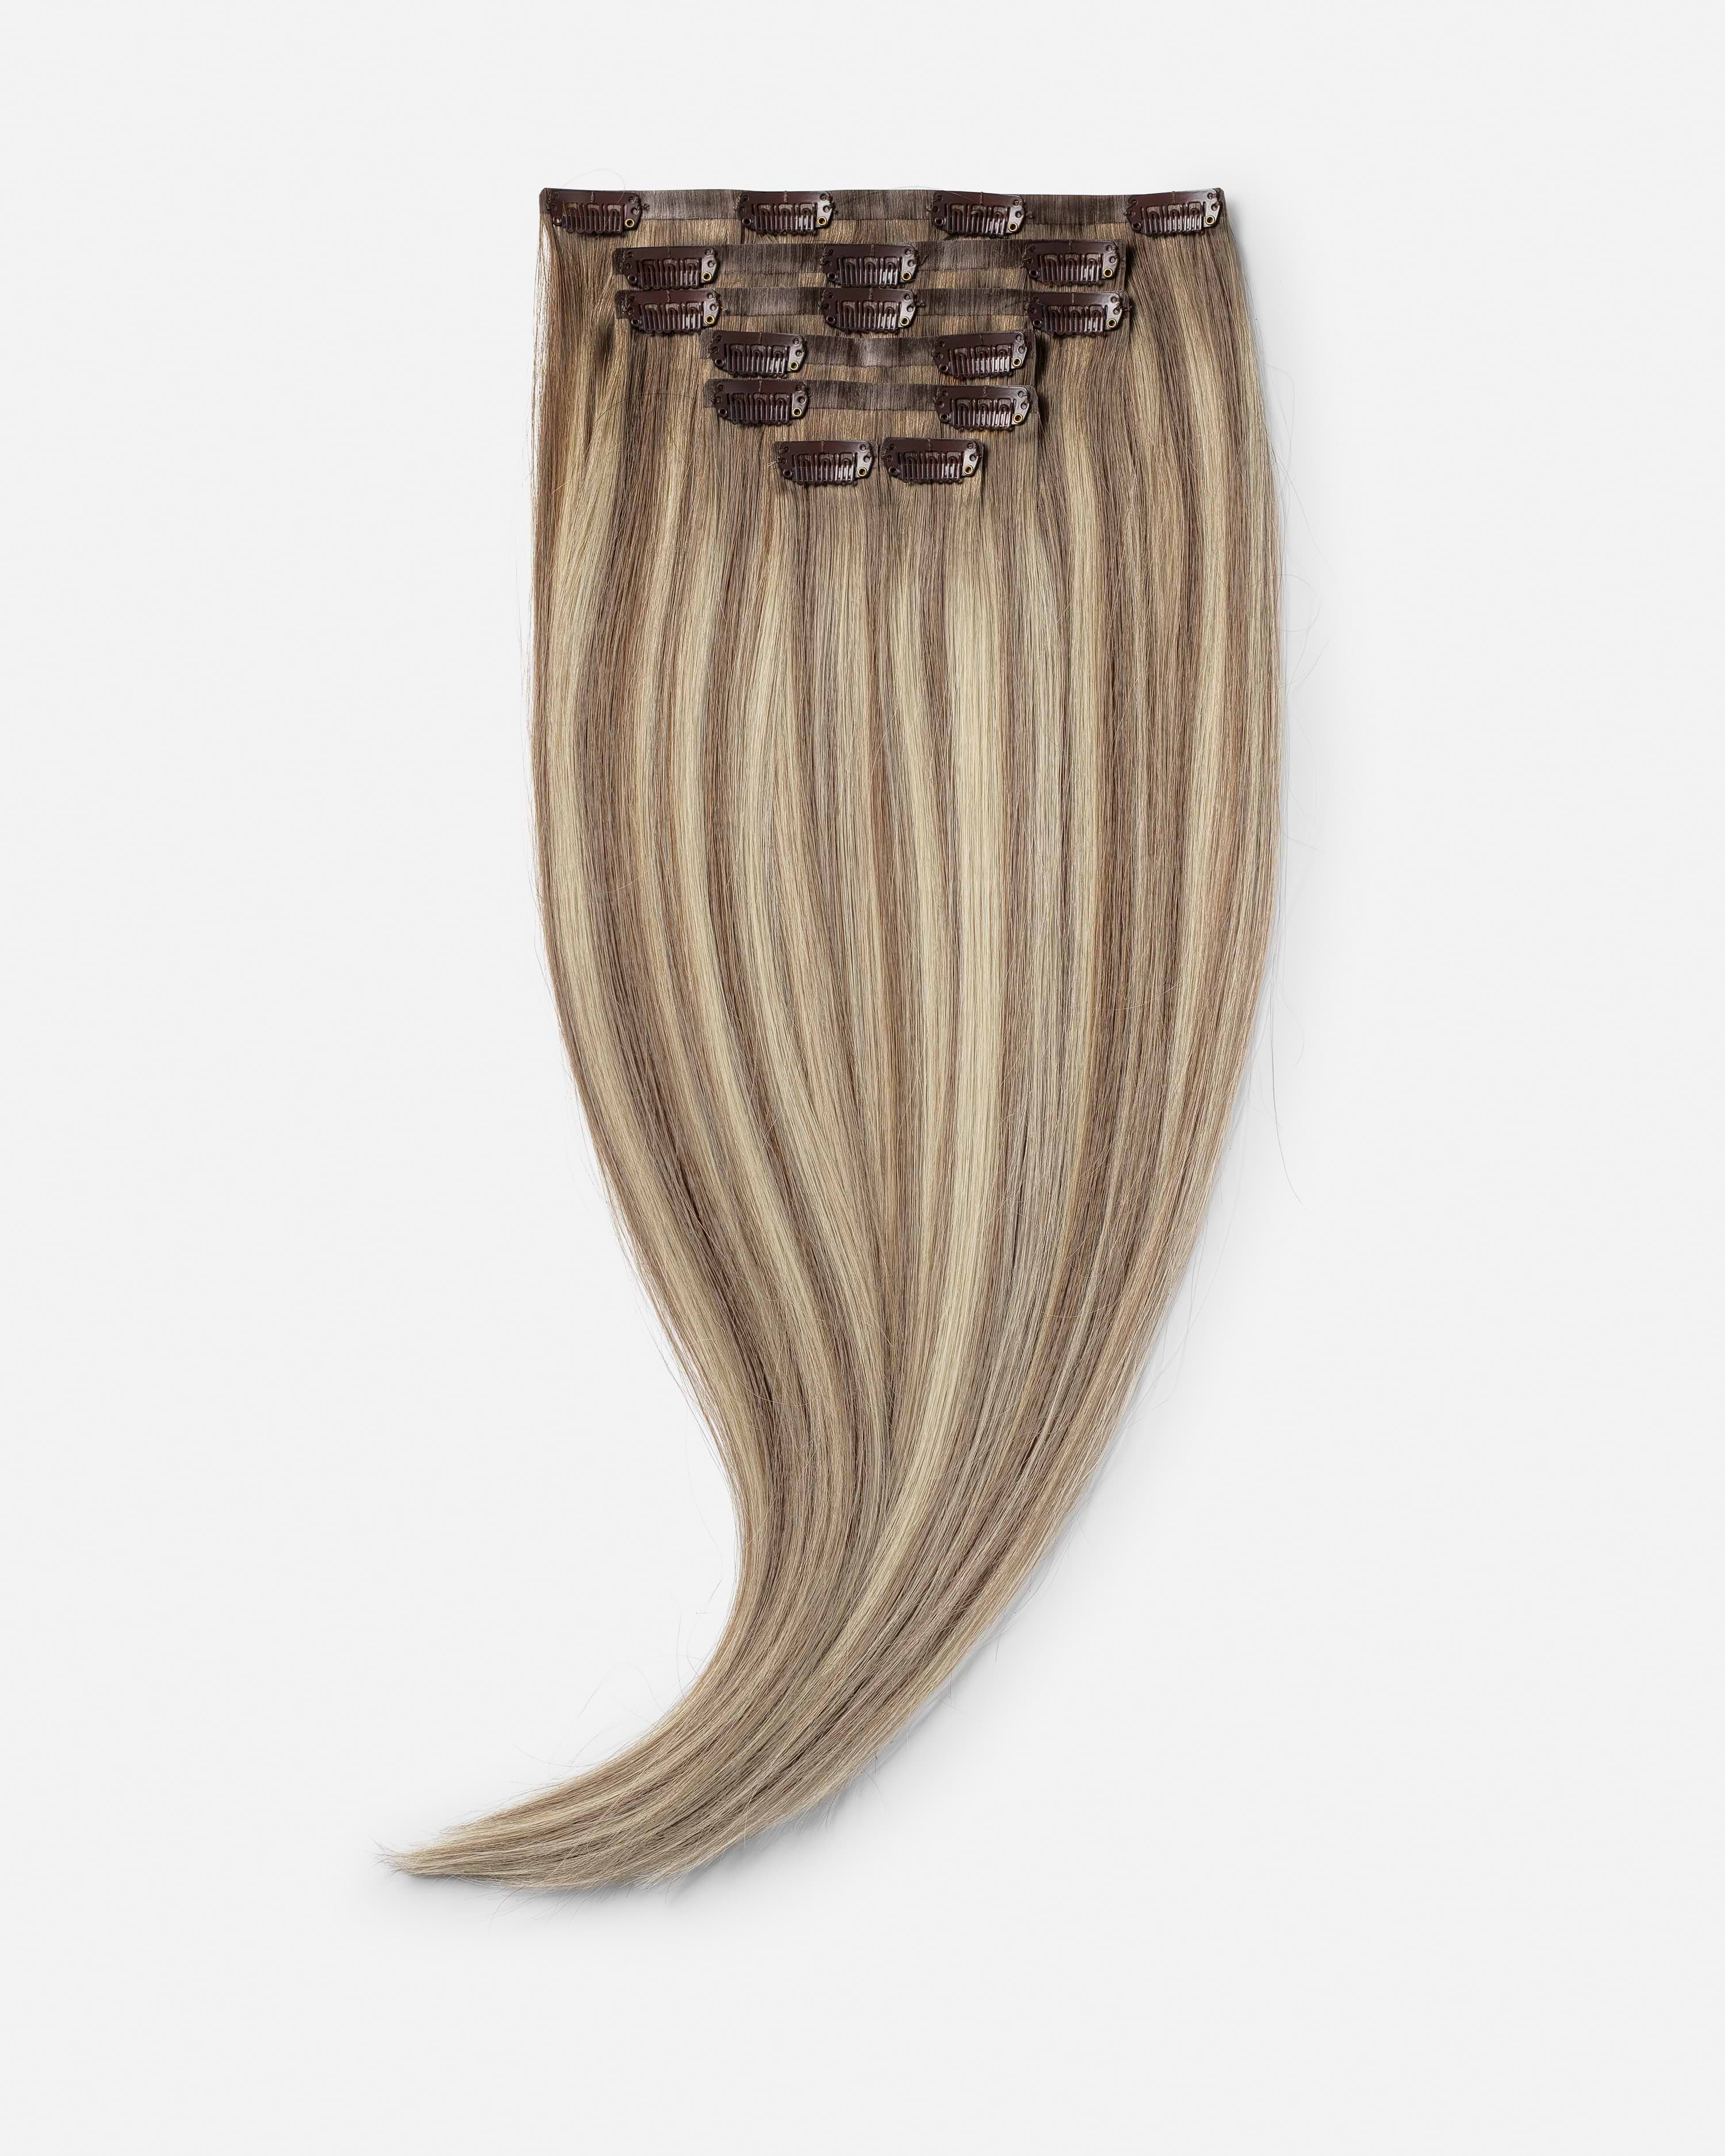
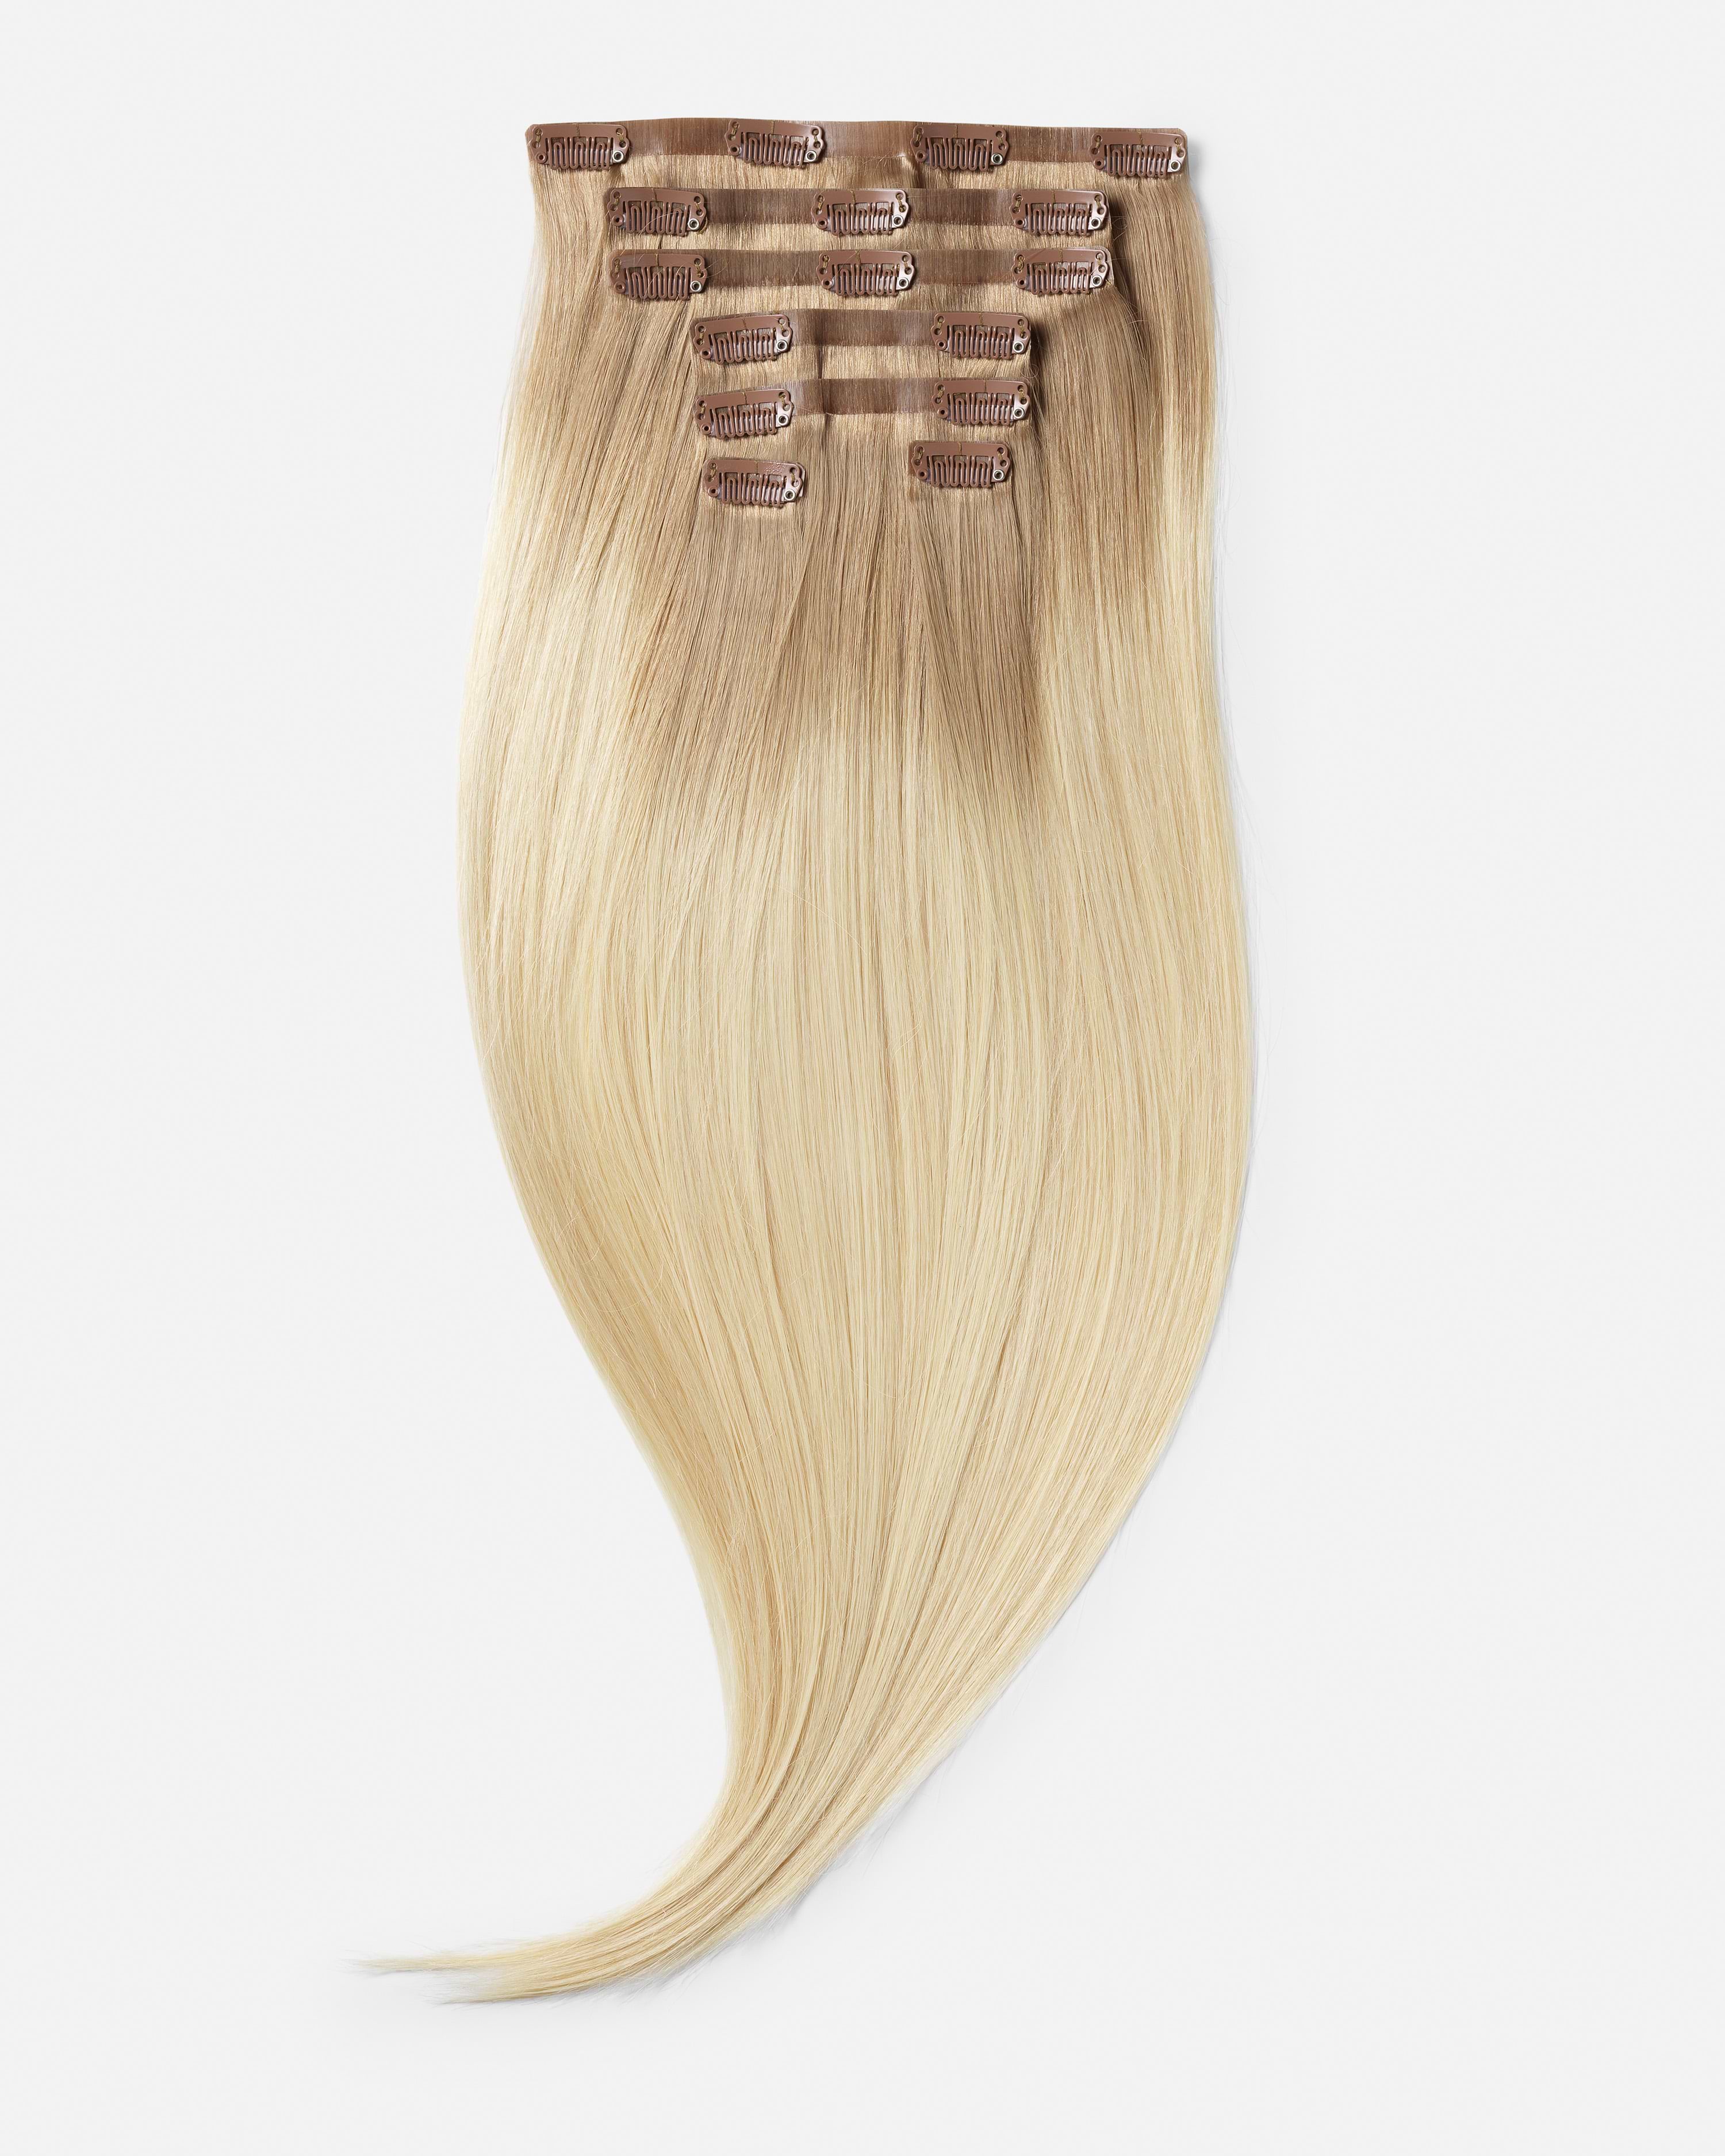
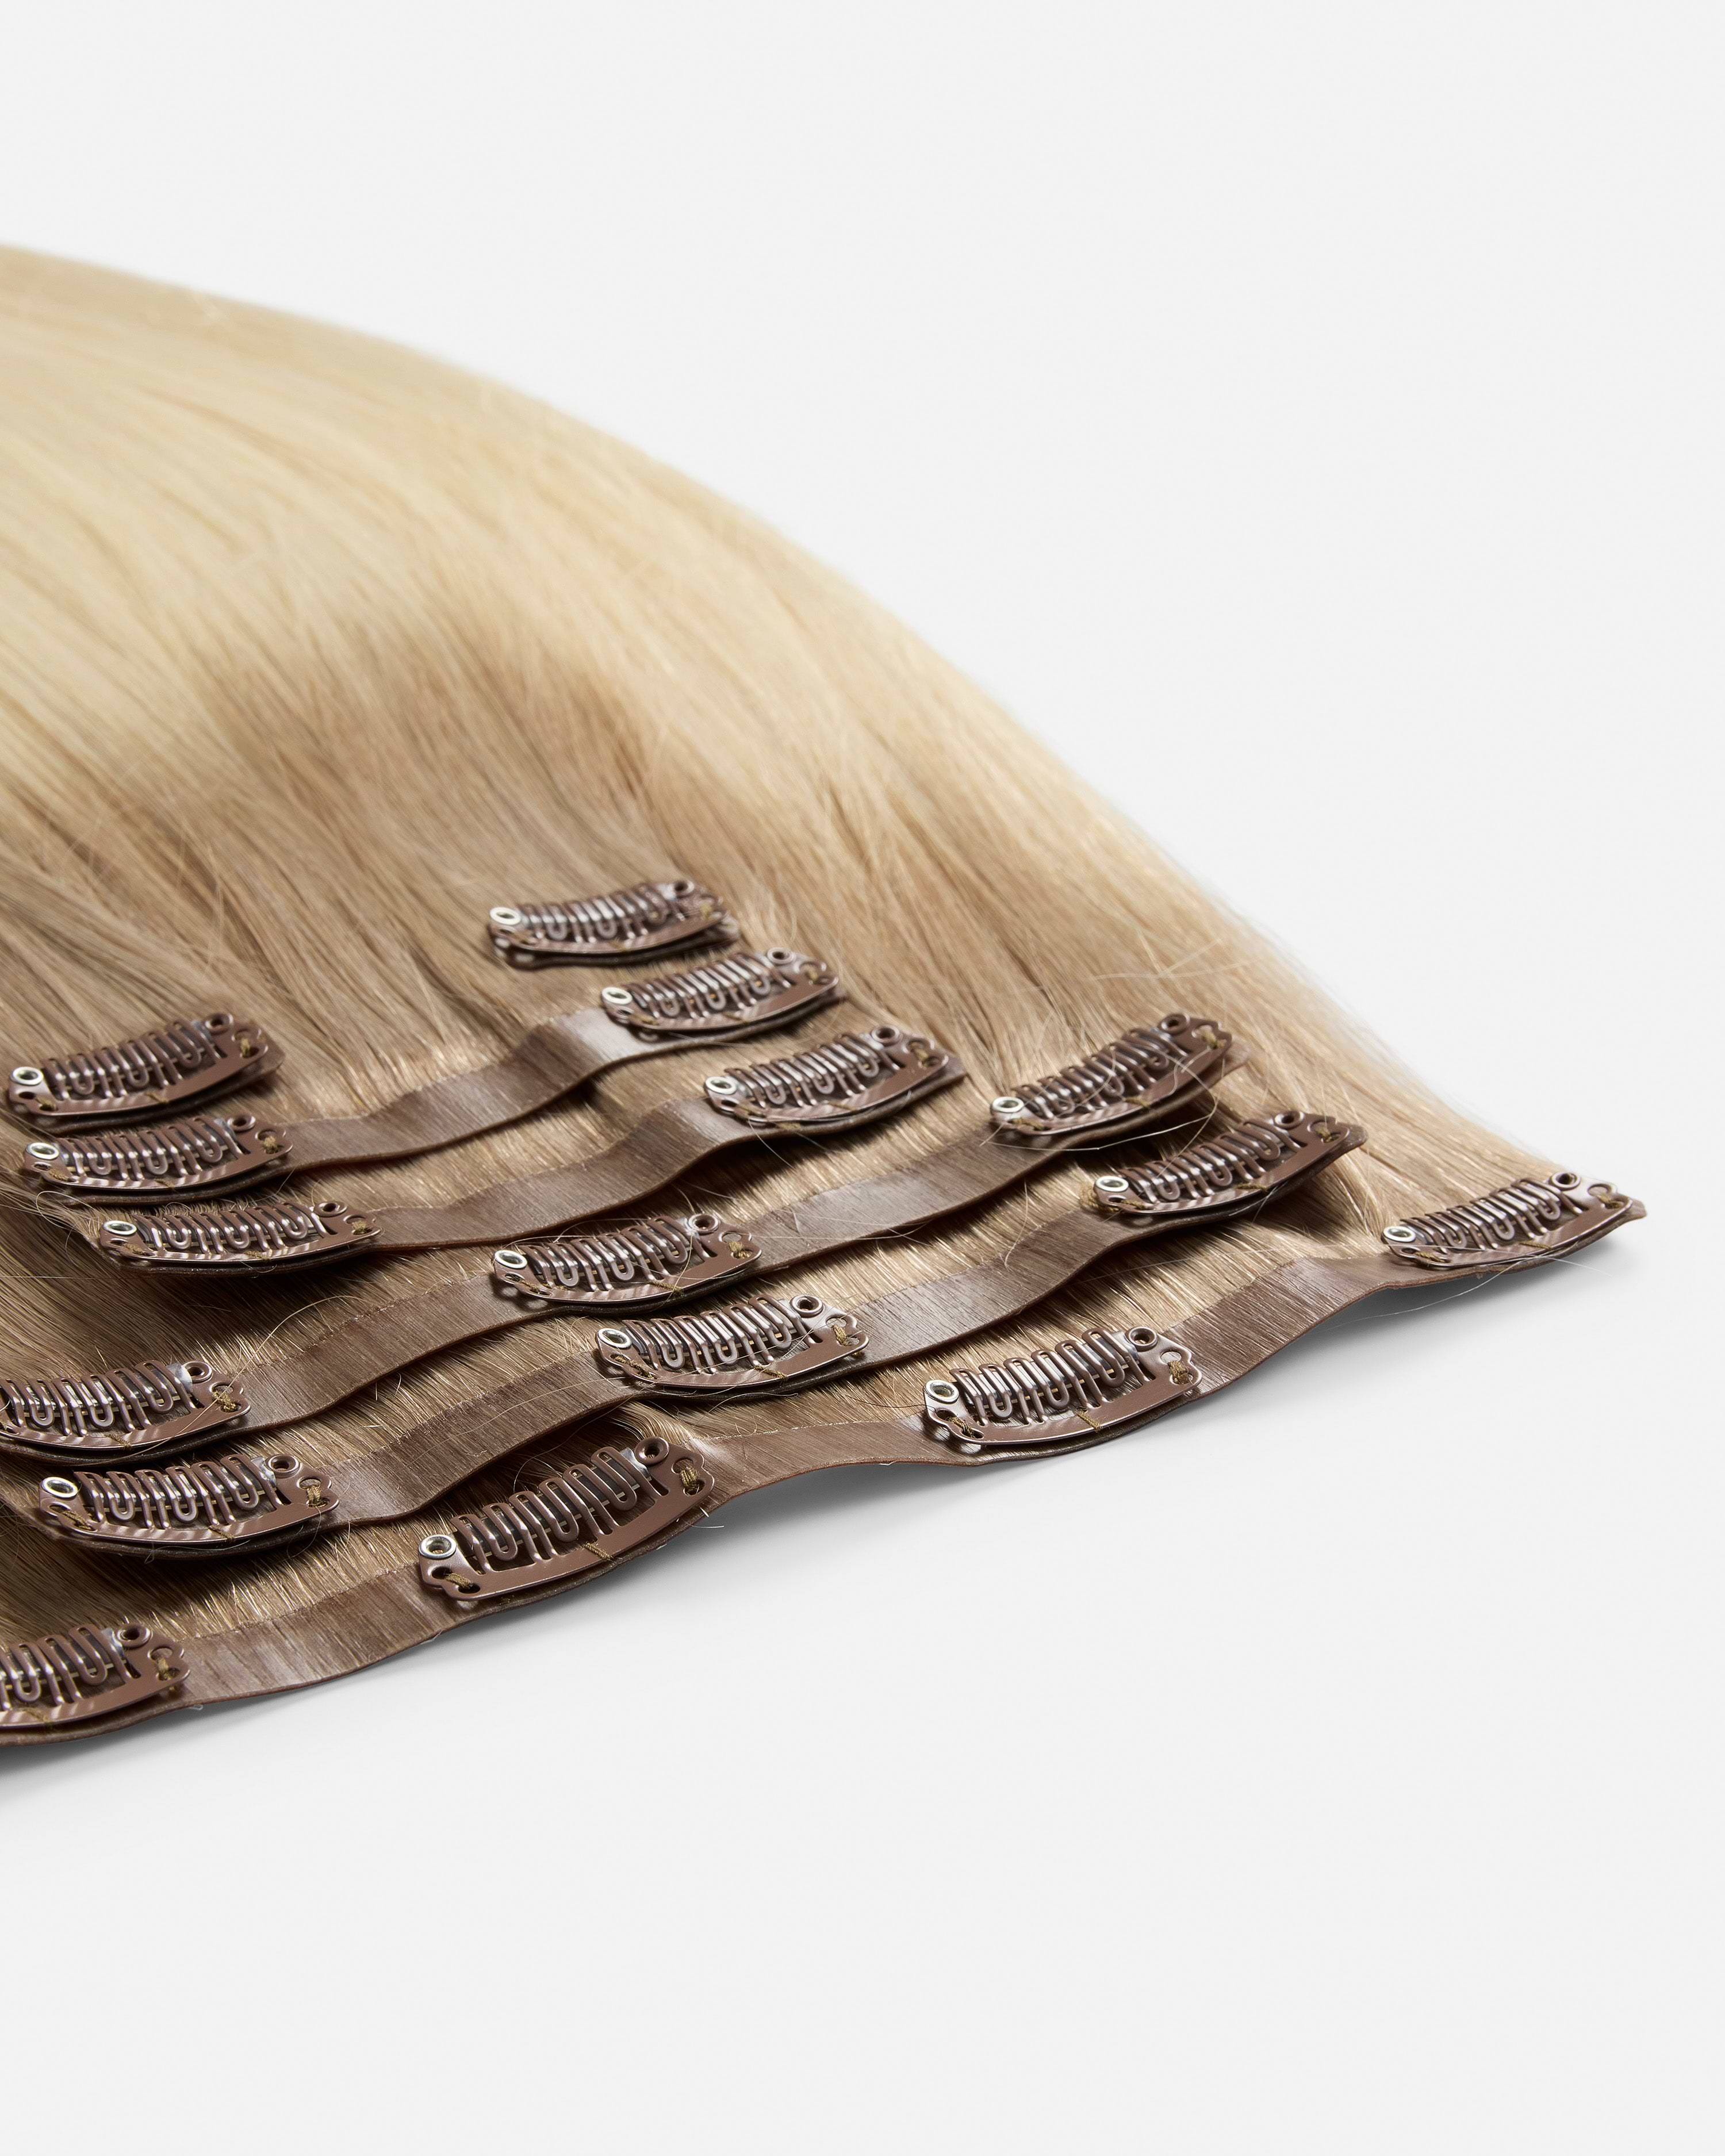
Repeat for the other hair pieces. If your set comprises of wefts with different widths, insert the widest wefts at the widest point of your head and the narrowest wefts at the sides. The wefts should sit neatly and securely on your head.
Voilá, you’re done! Style as desired and enjoy your new hair!
Step by step guide
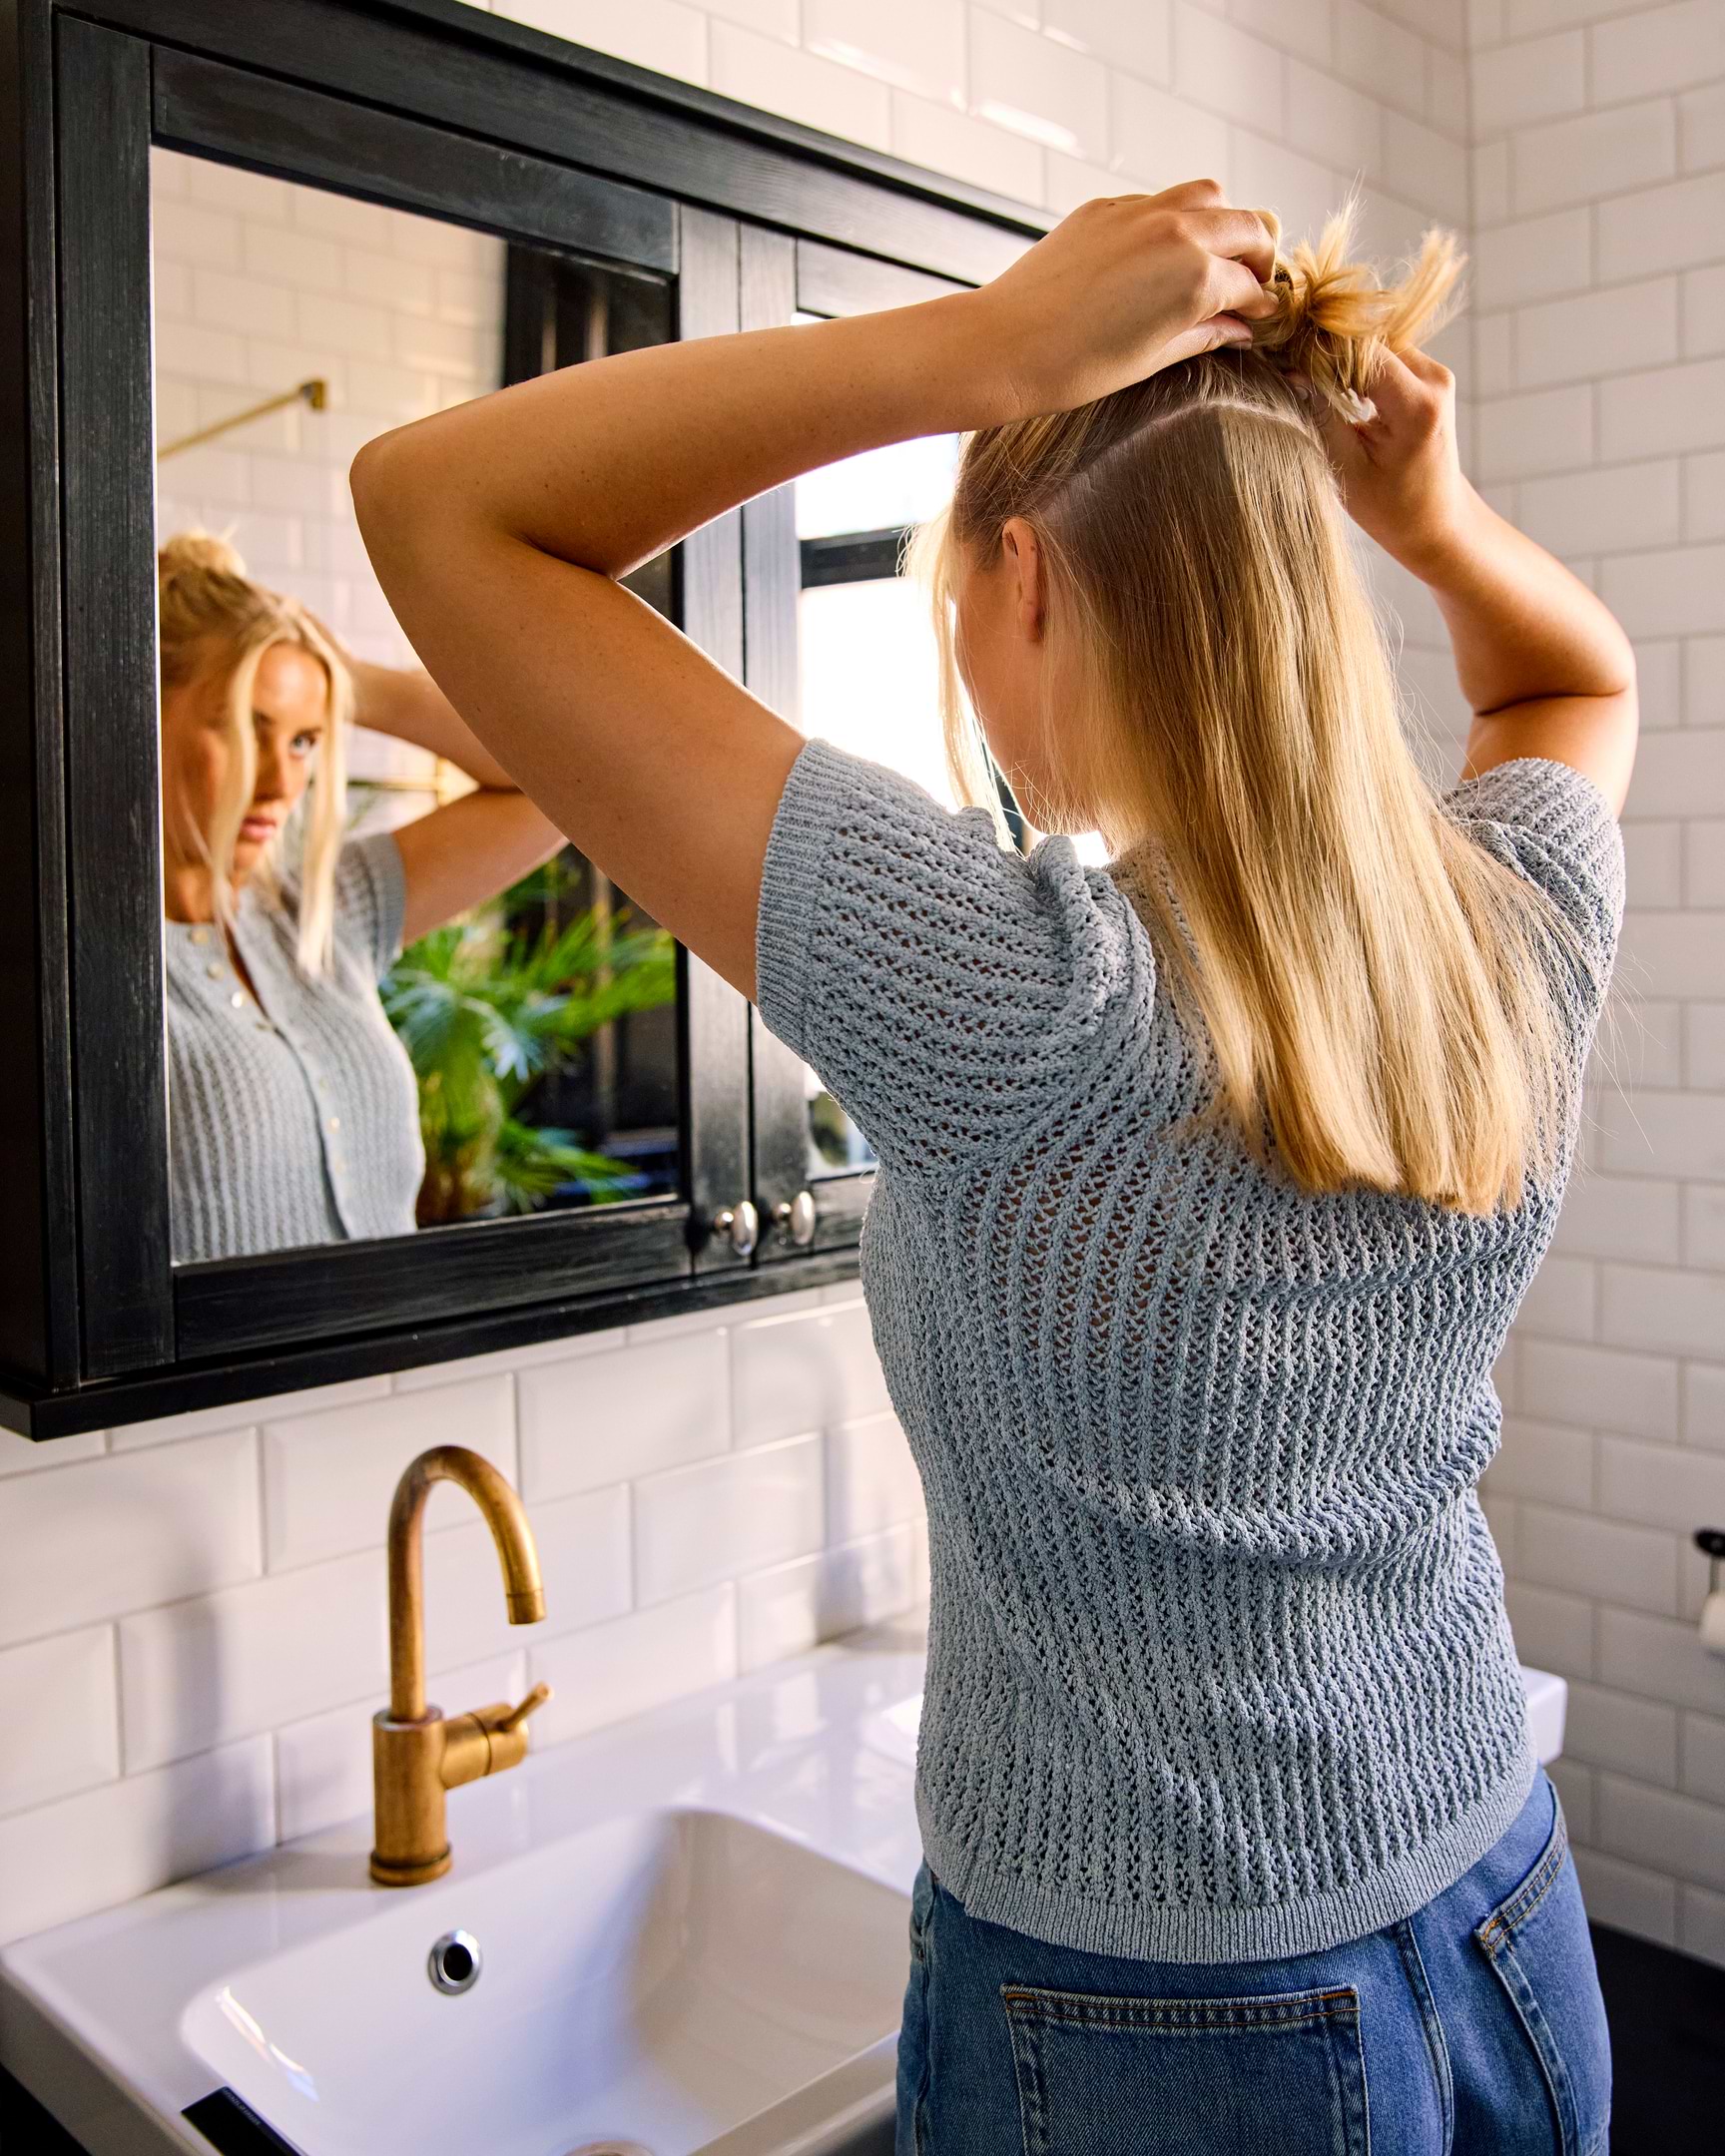
Step 1.
Create a horizontal parting with a pintail comb and secure the it over the parting with an alligator clip to avoid it slipping down.
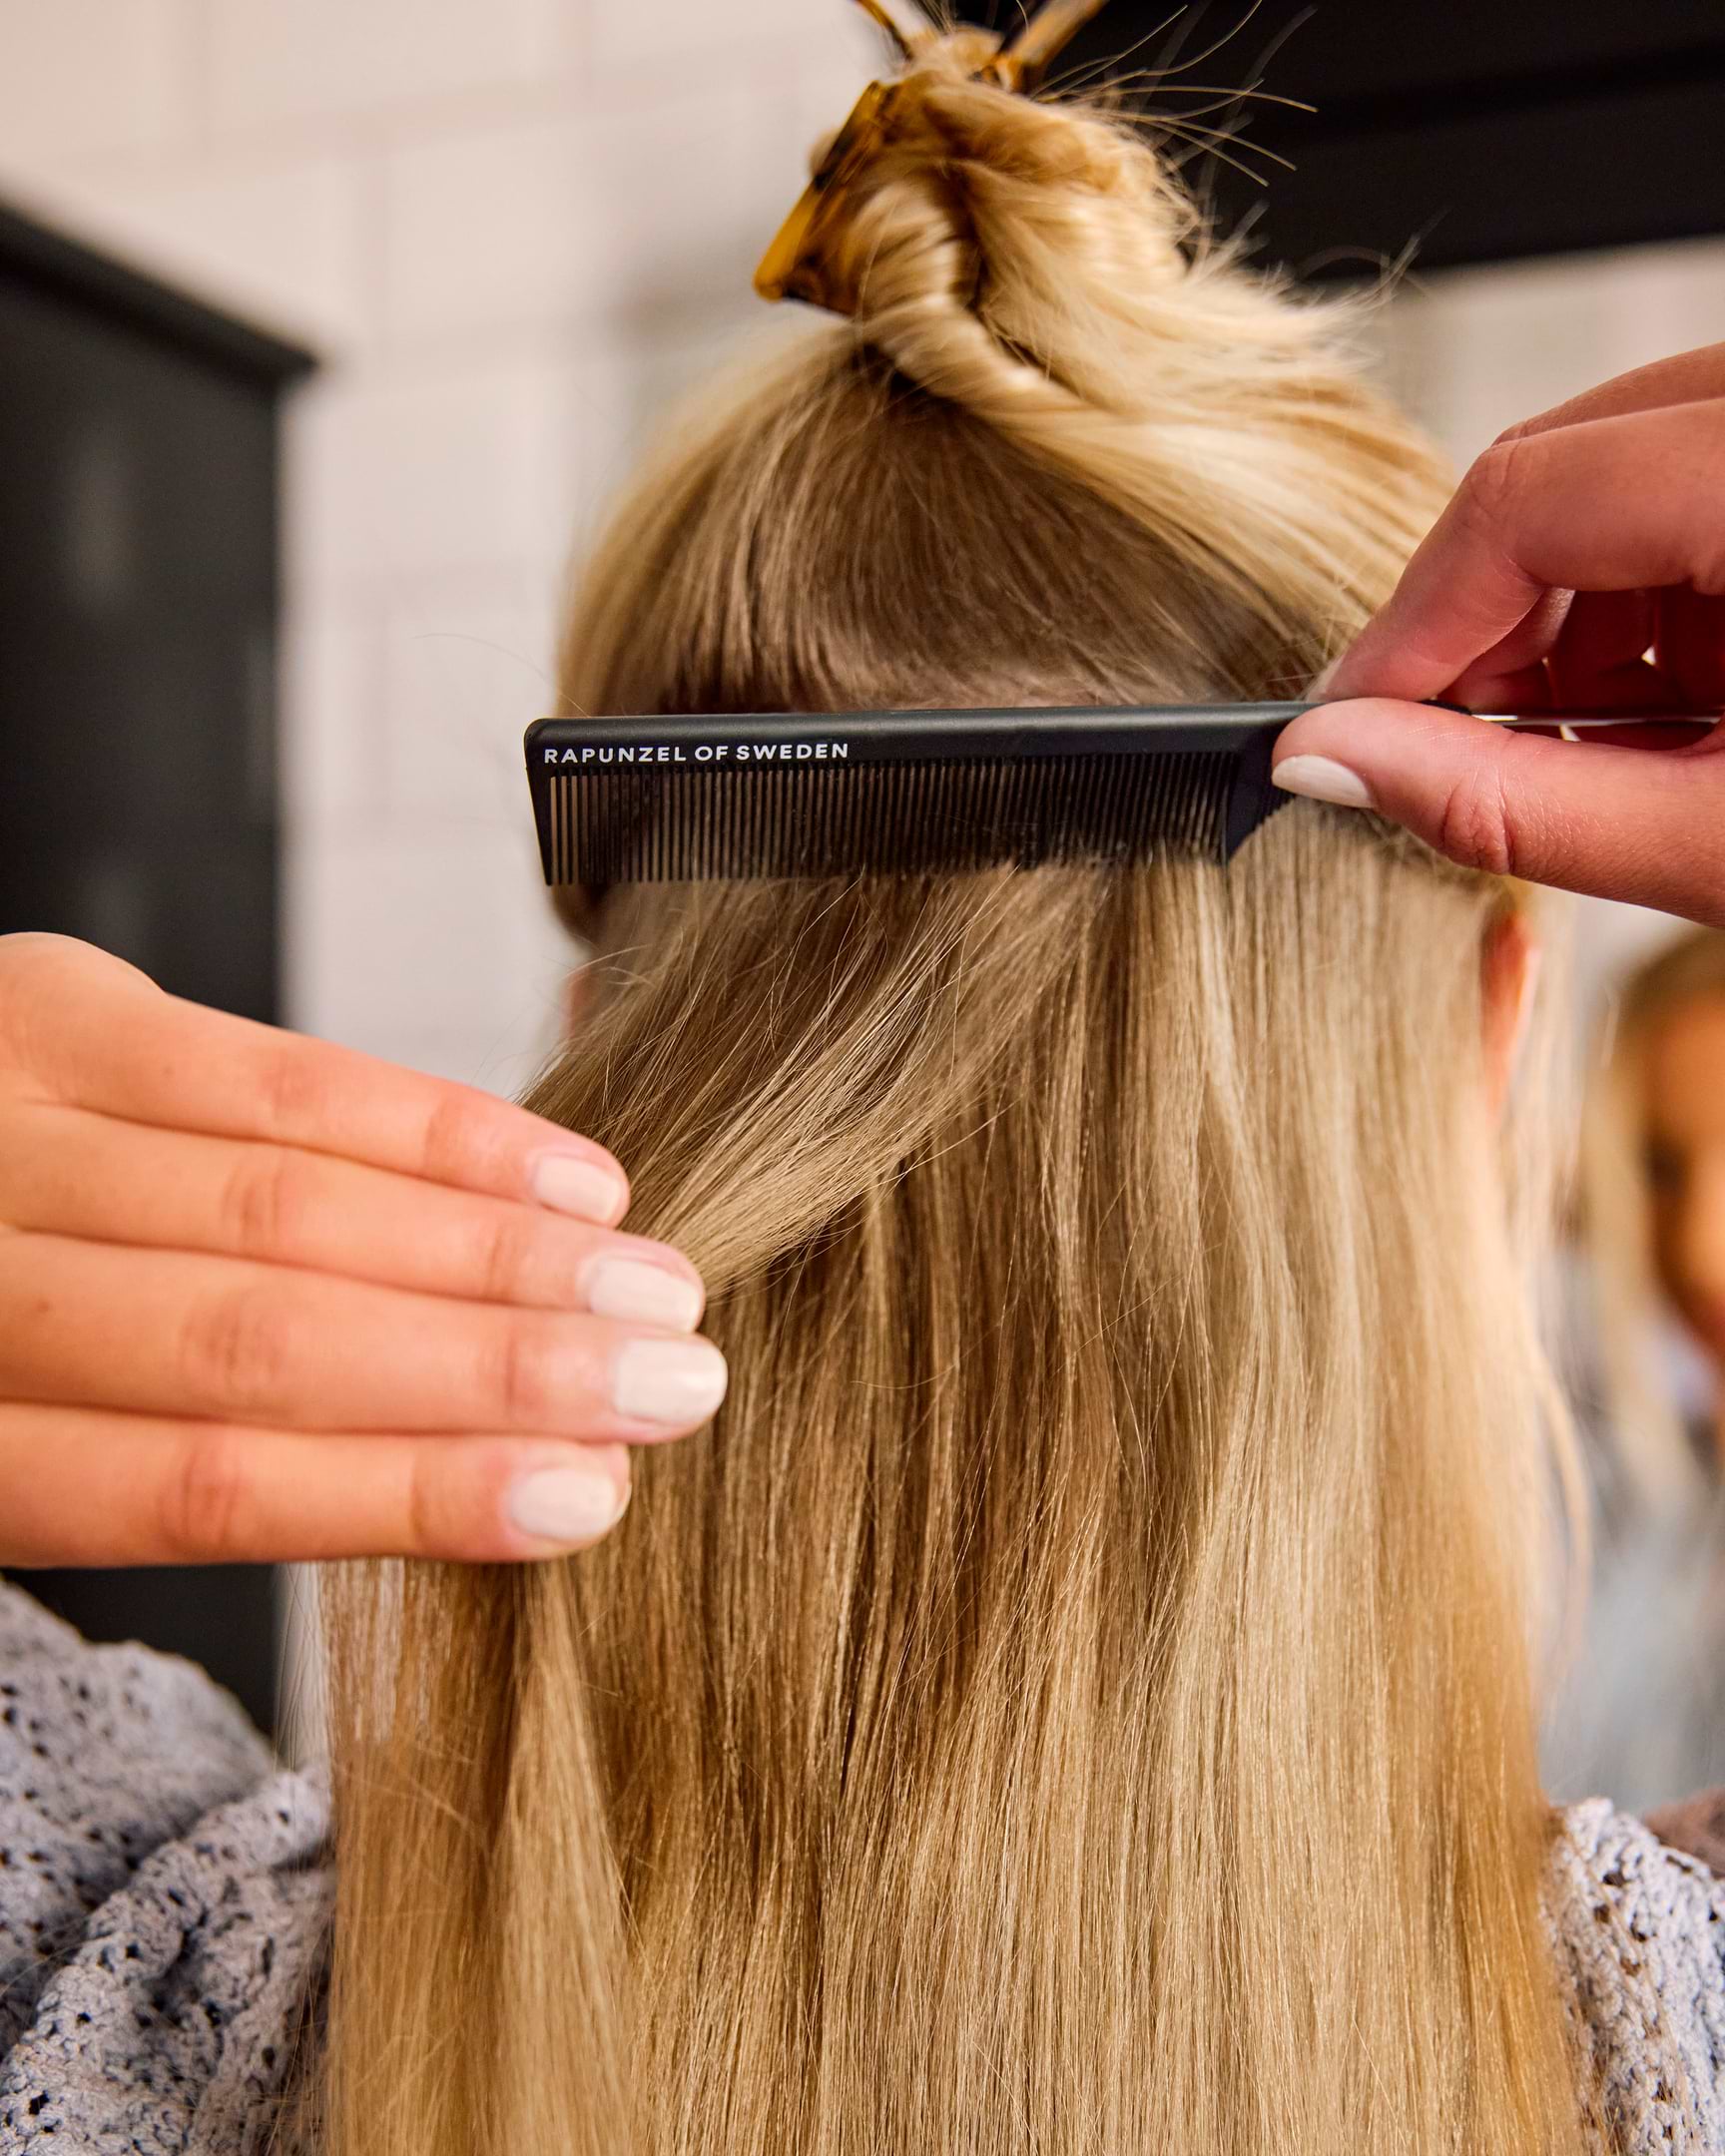
Step 2.
In sections, backcomb the hair closest to the parting and secure with hairspray. This procedure ensures that the hair and stays in place.

Step 3.
Open the clips by bending them backwards. You will hear a click.
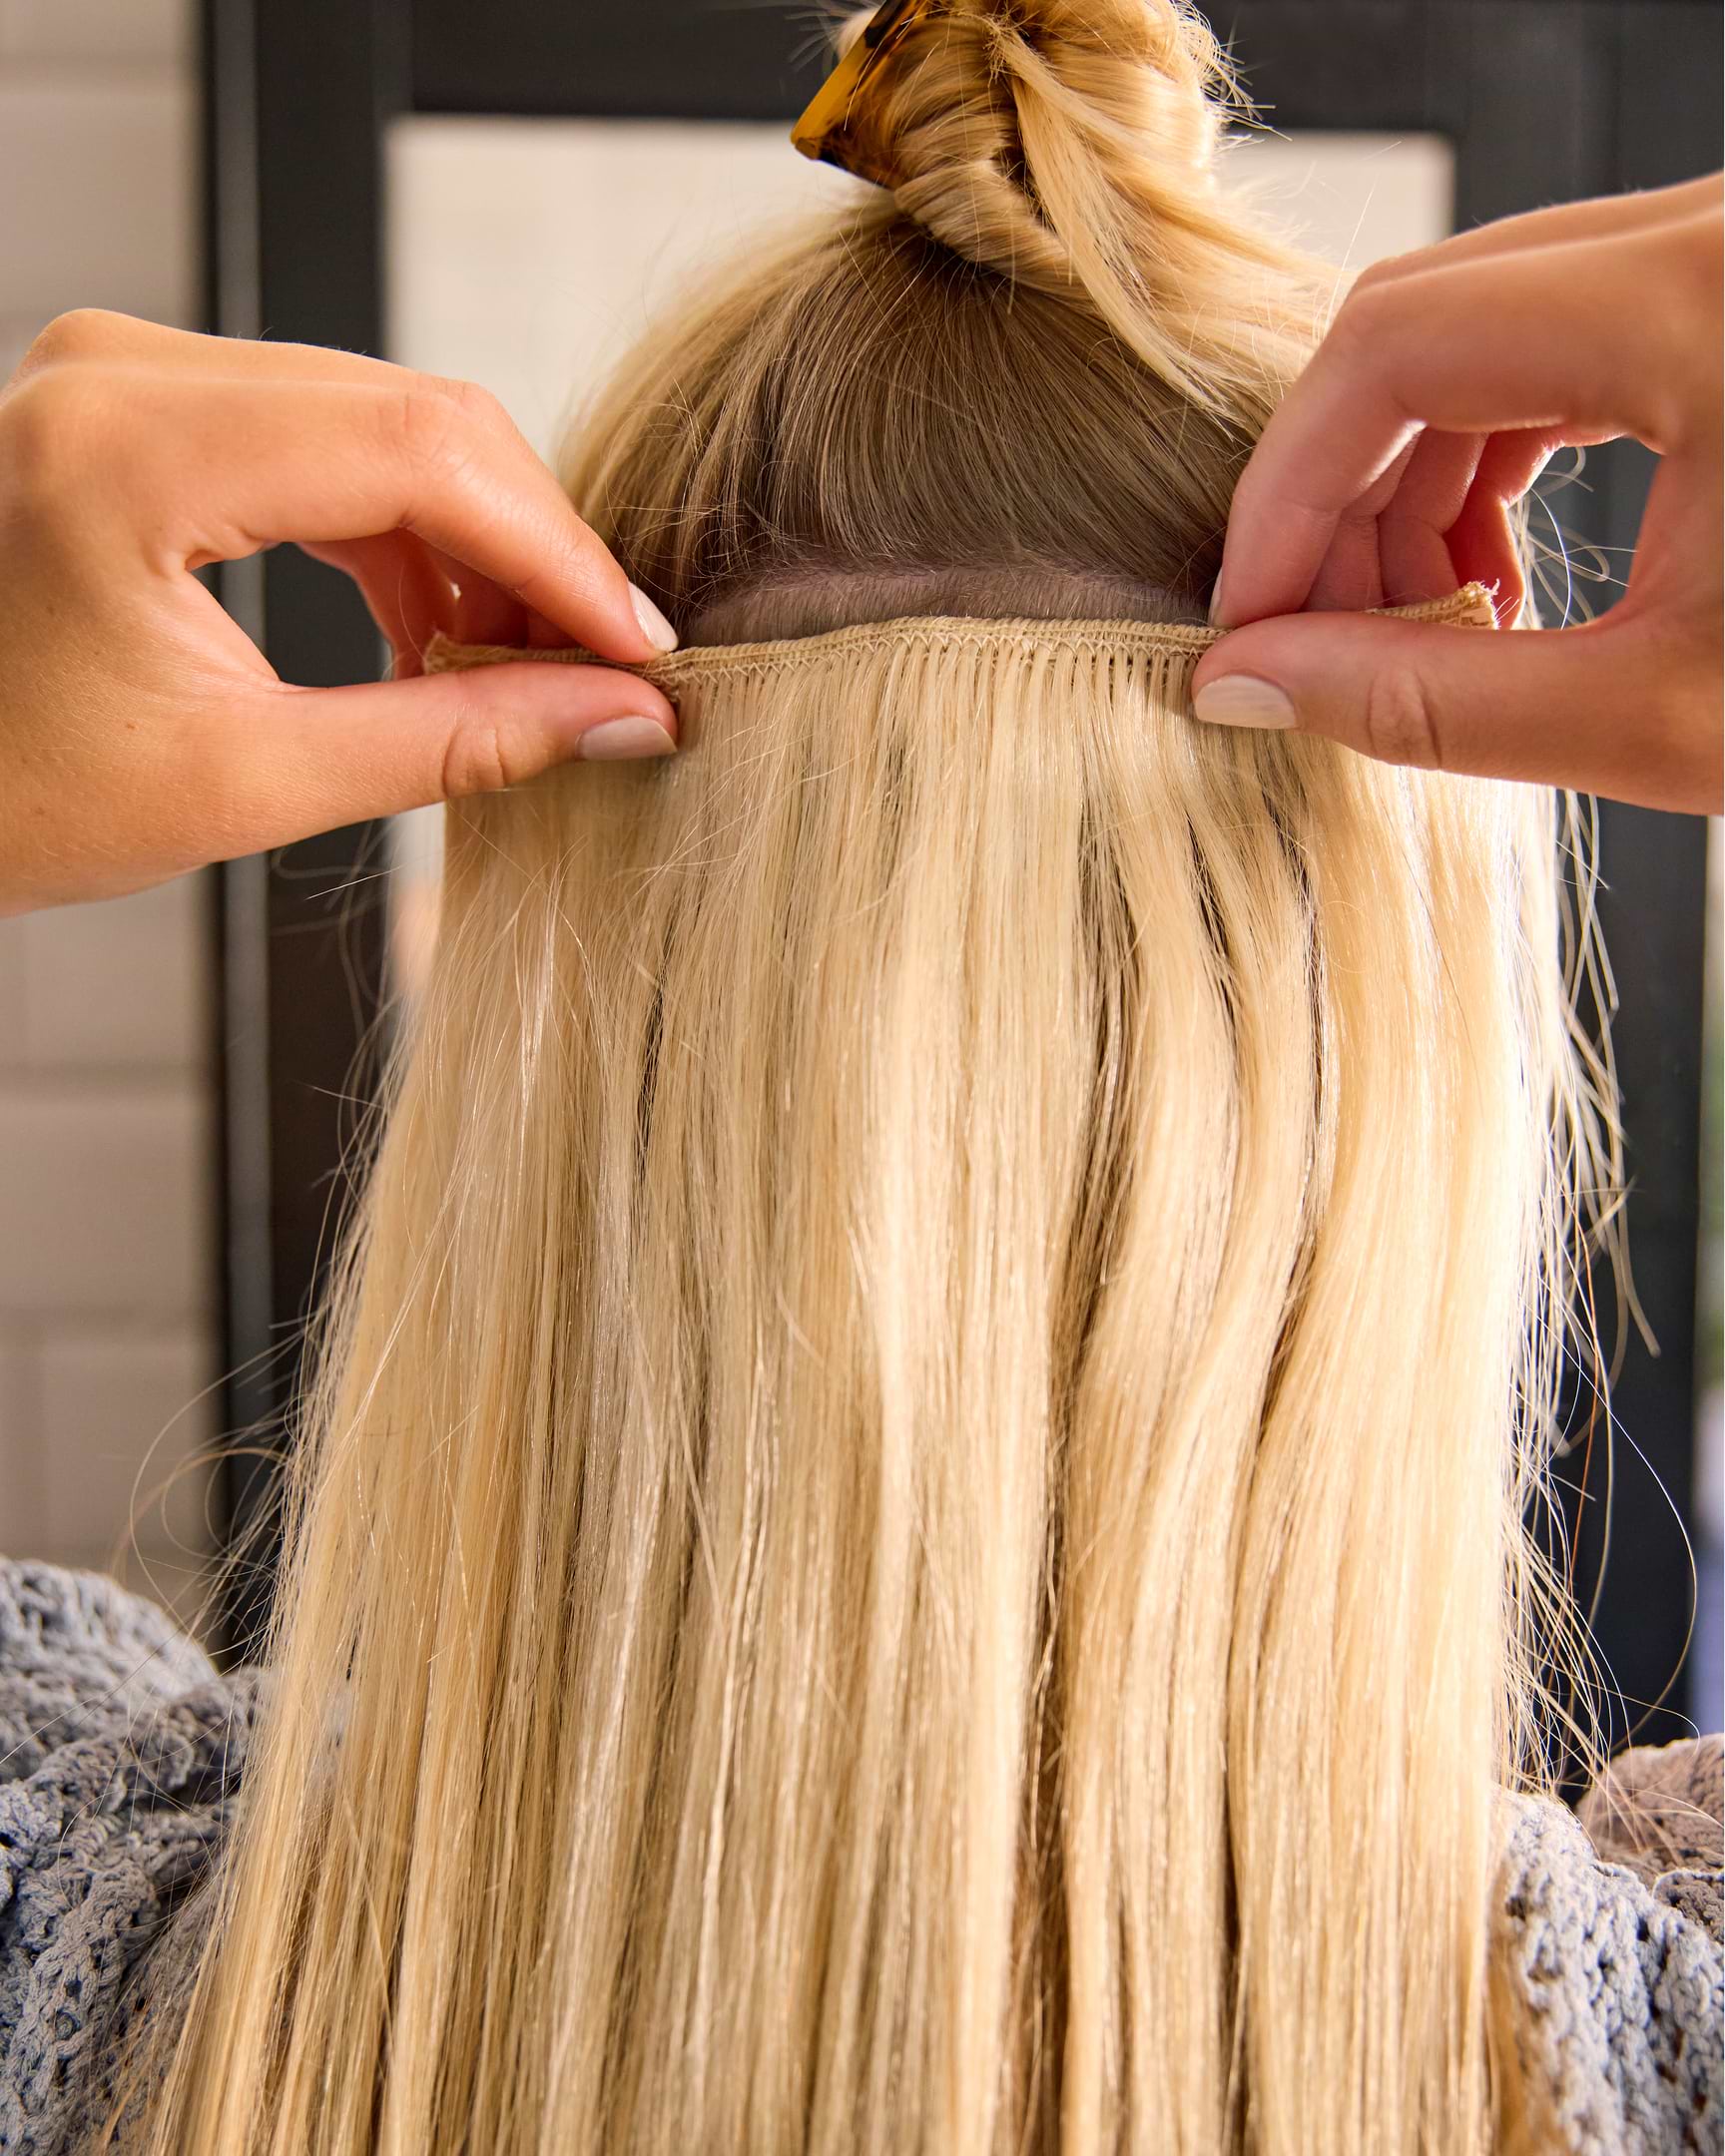
Step 4.
Attach the clips just below the parting and click to secure. If your clip-in set contains wefts with different widths, attach the widest wefts at the widest point of your head, normally the back and the narrowest wefts at the sides. The wefts should sit neatly and securely on your head.

Step 5.
All clipped in, you’re now ready to let down your own tied up hair.
Style as desired and finish off by gently brushing through it, ensuring it blends evenly with your own hair – stunning hair in no time!
Discover Clip-ins