Step-by-step - Pull-through Braid
We used:
Clear rubber bands for attachment.
2 x Clip-on 3 pieces in color #14.
Volume powder for extra hold.
Salt spray for texture.
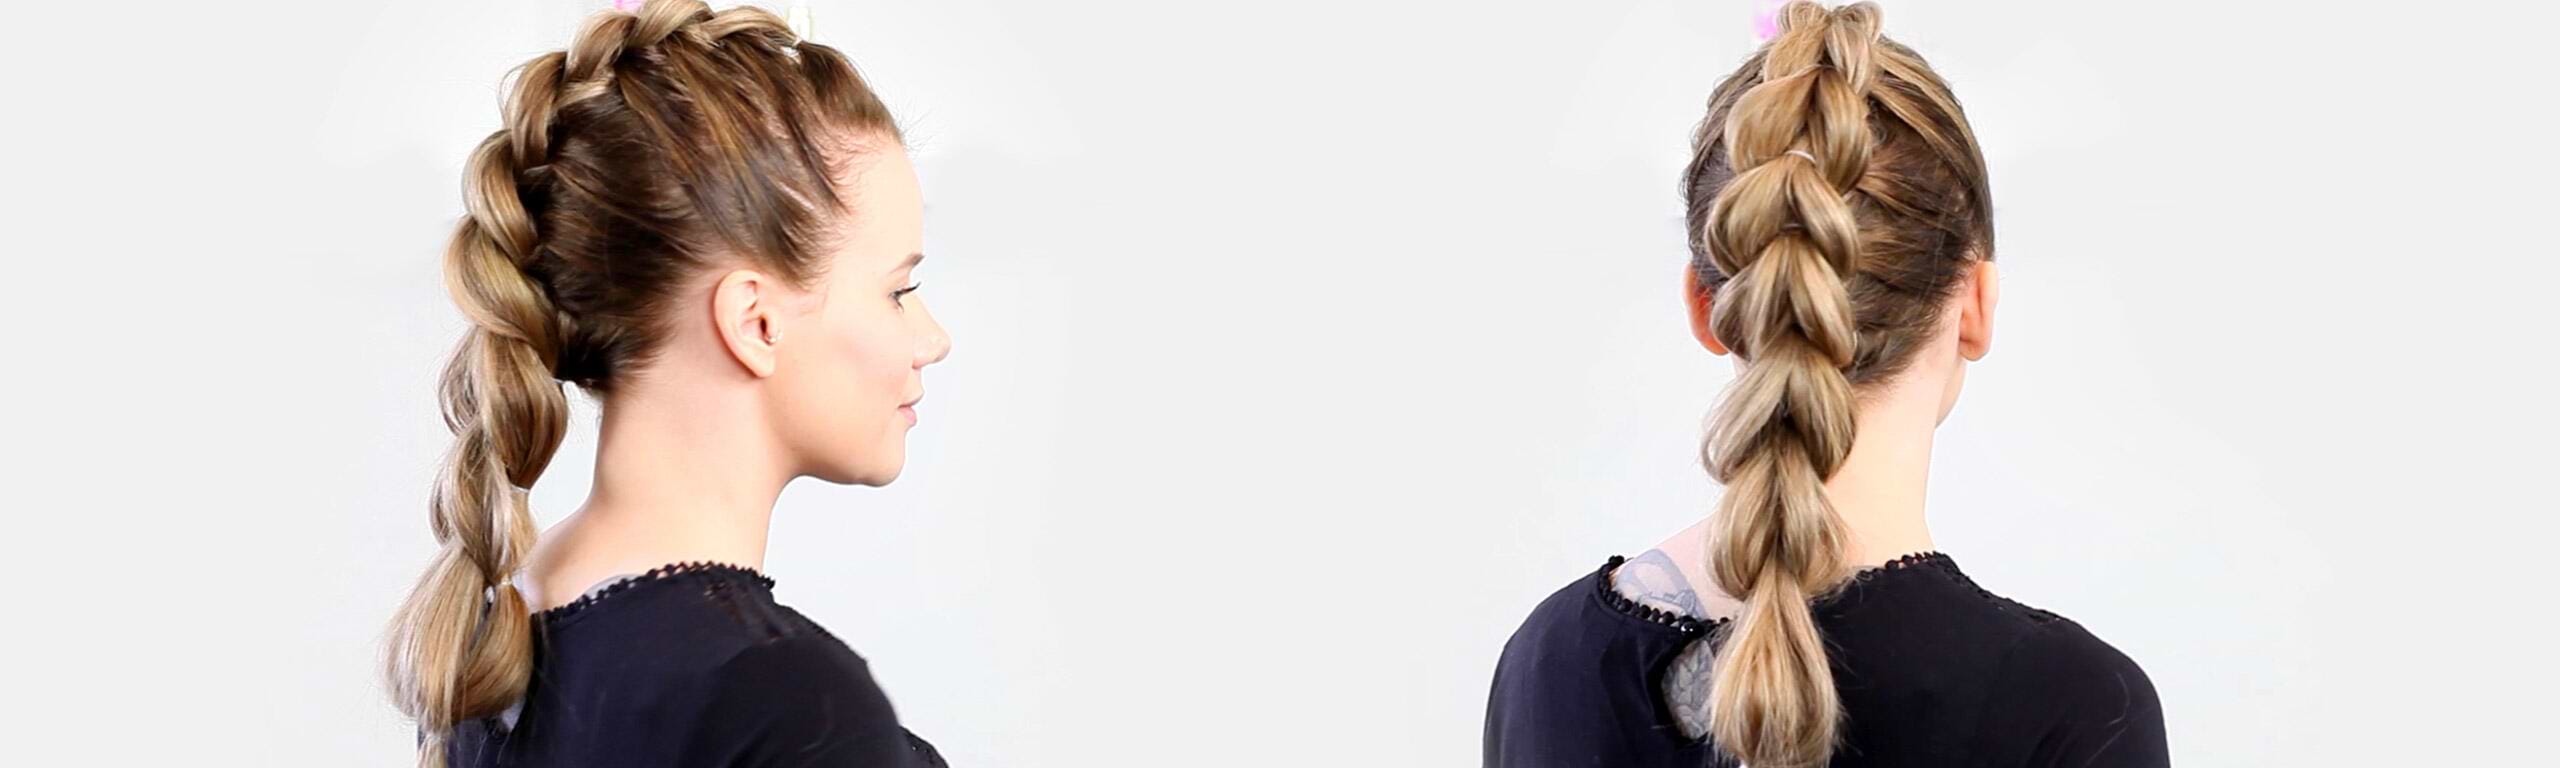
Pull through-Zopf
Ziehen Sie einen Mittelscheitel und befestigen Sie die Clip-on Teile auf beiden Seiten des Scheitels.
Machen Sie zwei Zöpfe, direkt hintereinander.
Teilen Sie den oberen Zopf in zwei Teile und legen Sie jeweils einen Teil seitlich des anderen Zopfes ab. Befestigen Sie es mit einem Haargummi.
Wiederholen Sie diesen Vorgang indem Sie nach und nach mehr Haar von der Seite mit einflechten. Ziehen Sie dann einzelne Strähnen des fertigen Zopfes etwas heraus um ihn aufzulockern.
Tips!
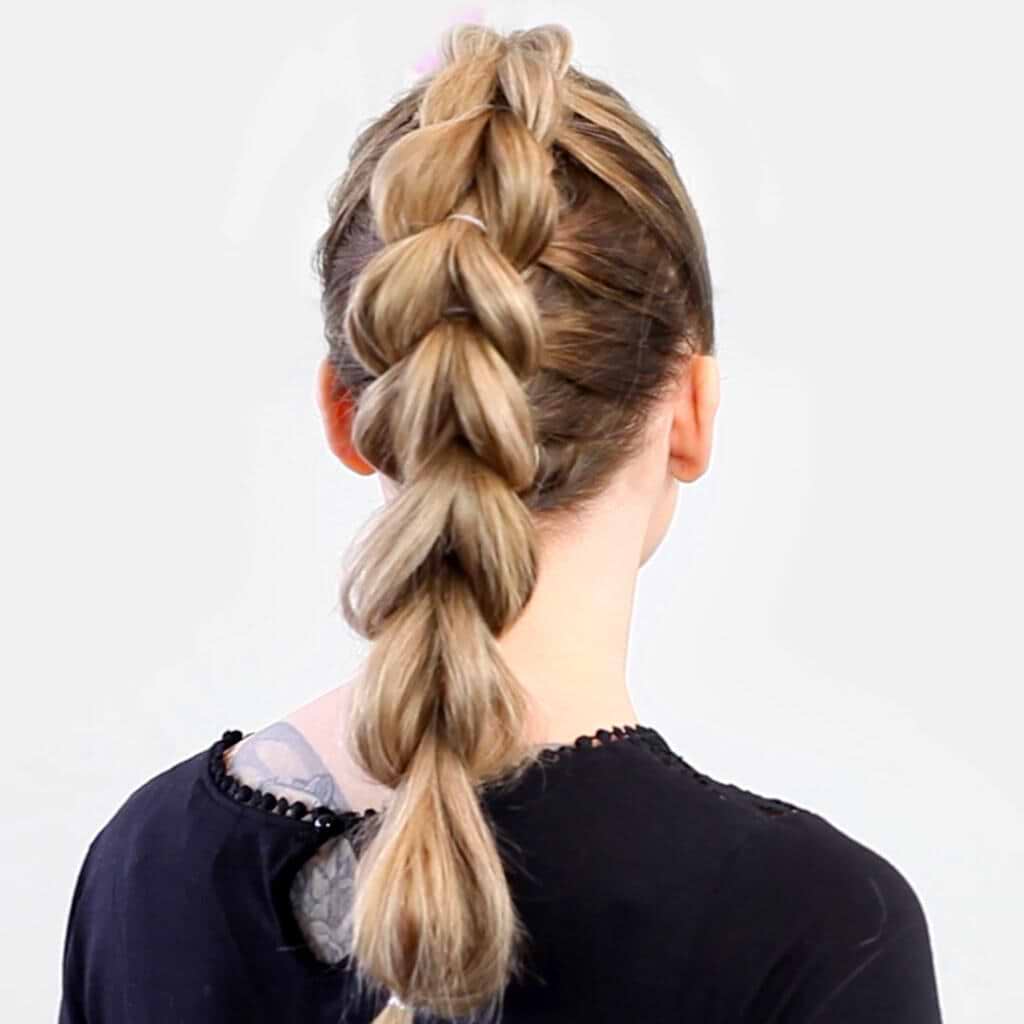
The braid doesn't have to be high up on the head - it can be done lower, too.
Put all the hair in a normal ponytail at the desired height.
Then divide the ponytail into two equal parts, one above and one underneath. Put a hair tie on the upper half, and create a loop. Pull the lower part through the loop so it's in front.
Repeat the process until you've gone all the way down to the end.
To add a little volume and a messire look, you can pull the braid a part a little. Start all the way at the top and work down.
You're going to need quite a few hair ties - if you have light hair, it's a good idea to use clear rubber bands. If you have dark hair, use dark ones.


Your dream
hair awaits!