Blowout - DIY
3-18-2019
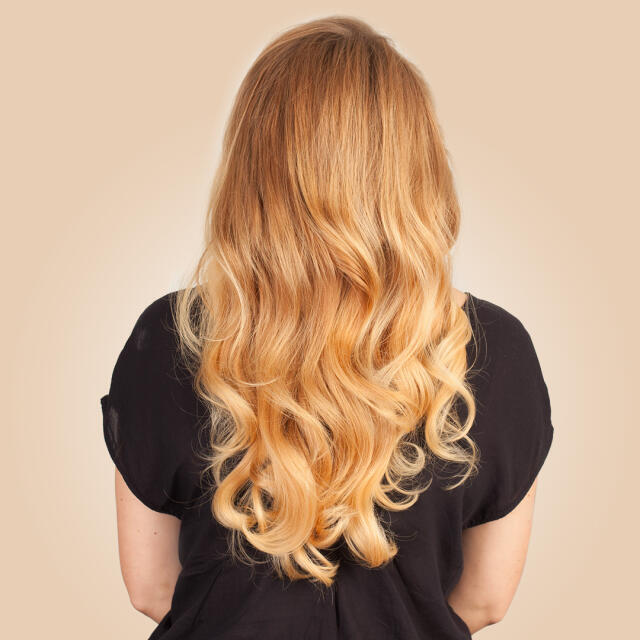
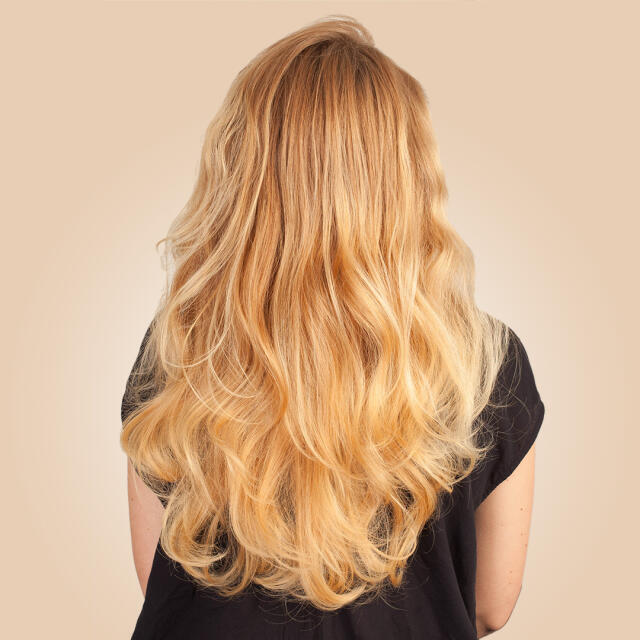
Is your hair lifeless and frizzy despite blow-drying? Read our professional tips for a successful and long lasting result in our blowout guide!
Products you require:
Rapunzel Blow Dry Cream
Hairdryer - Slim Proline Edition
Detangling brush
Rapunzel Hydrate & Care Kit
Metal Clamps
Black Hair Clips
(World Pro – Curling Iron)
(Styleox - Heated styling brush)
This is how easy it is:
- When you want to add volume to your hair then it's best to have it really clean in order to make your blow-dry last longer. Wash your hair twice with shampoo or once with a deep-cleansing shampoo. Finish with conditioner - applying only to the lengths and ends.
(We used Rapunzel's Hydrate & Care series - which cleans and moisturises, and is at the same time kind to animals. 100% vegan.) - Towel-dry your hair.
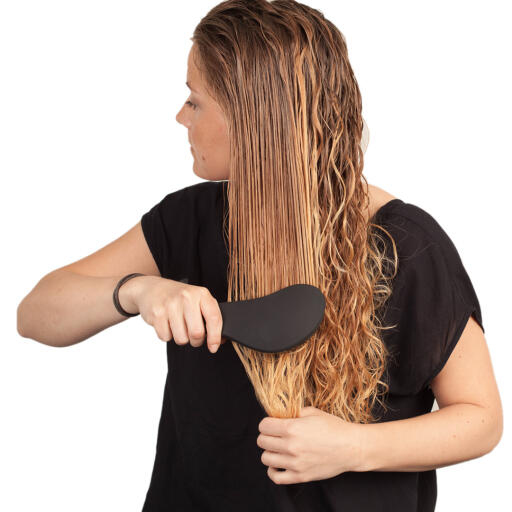
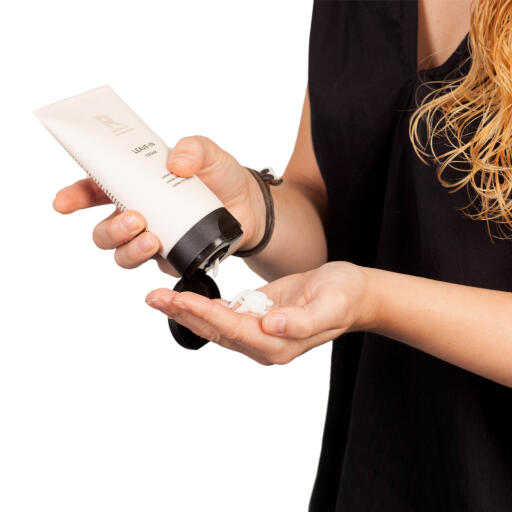
- Use a detangling brush and carefully go through your hair. Apply heat protection in order to protect your hair against heat from the dryer.
Tip! New Rapunzel Blow Dry Cream contains both heat protection and adds volume and body. It even makes your hair dry faster - win-win! - The next step can seem like overkill but we promise that it helps to focus on one section at a time thus giving a better and quicker result.
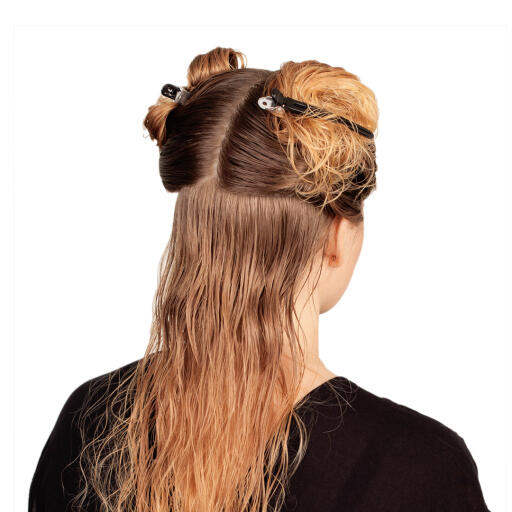
The secrect is in the sections. Section the hair when it is still wet, divide into two sections and leave an extra section at the nape. Fasten the two bigger sections to the side with large clips. Start blow-drying the part that is loose, use your finger-tips to remove any tangles (don't use any brush yet) and just dry partially.
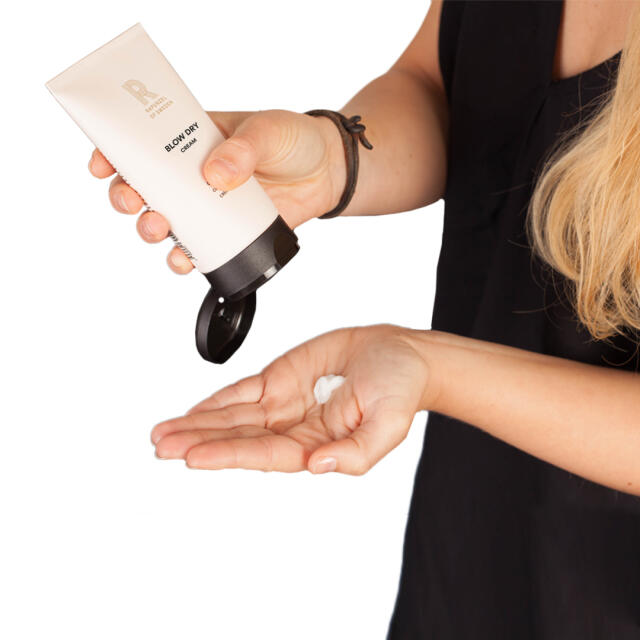
5. Use a reconstructive product. (Blow Dry Cream work perfectly). Use a very small amount. The secret behind a good DIY blow-dry, is to first let the hair semi-dry and then use a good product to tame the frizz and give control and body. For those of you who aren't professionals, the cream with help hold the style.
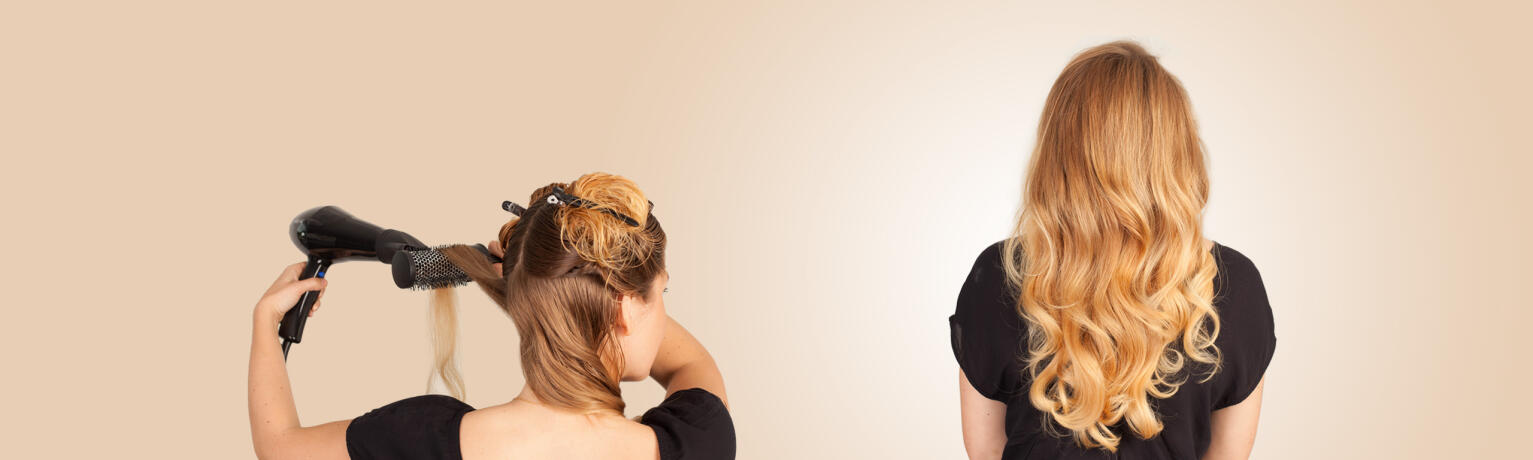
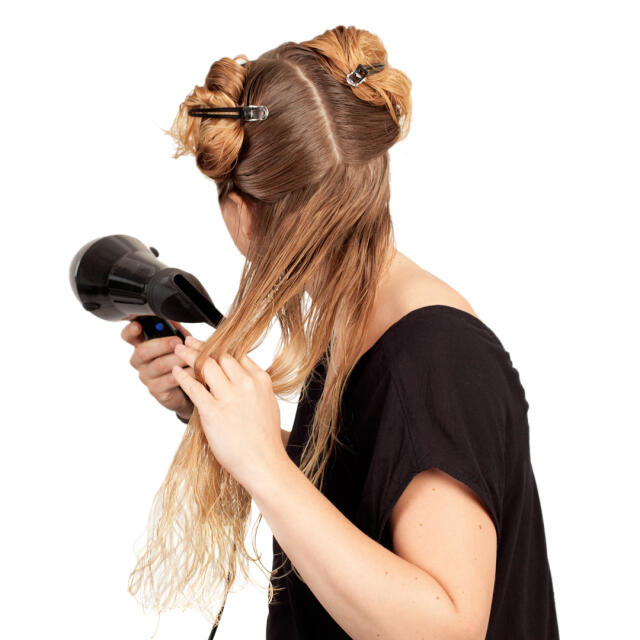
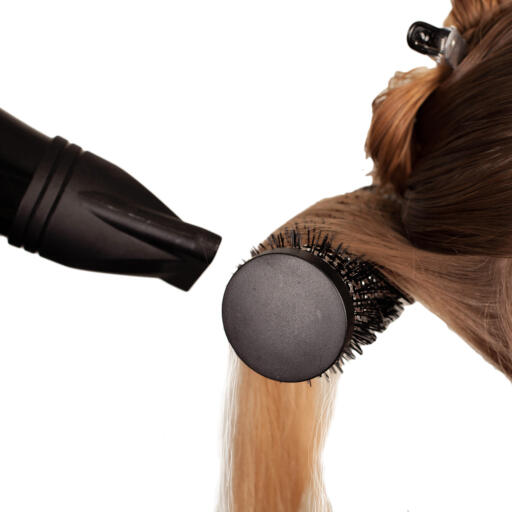
6. Then use a round brush that lets the heat pass through the holes and hairdryer. Let the hairdryer follow the brush movements and work your way through the hair.
You can use heat with a round styling brush to form your hair. The brush grips the hair whilst the heat forms it. Simple!
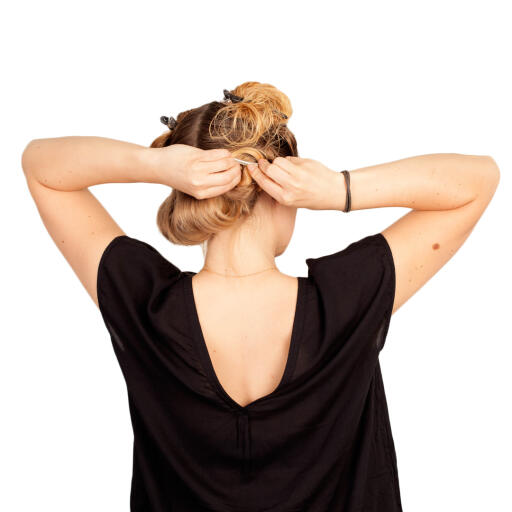
7. When the back section is ready, roll up the hair and fasten with a metal clip until cool. Divide the remaining two sections into two more smaller sections. Save the hair on the top of your head till last. Repeat the same procedure. Dry lightly, Blow Dry Cream, round brush + hairdryer. Fasten with metal clips.
8. Now you are almost there, just the final finale. This is the icing on the cake so take a deep breath or two before you get going.
OK. Let's go.
Divide the remaining two sections into three. You then have six sections left. Here you apply the Blow Dry Cream before you dry your hair. Use the round brush + hairdryer and fasten with metal clips. Finish the remaining sections and remember to blow-dry away from your face.
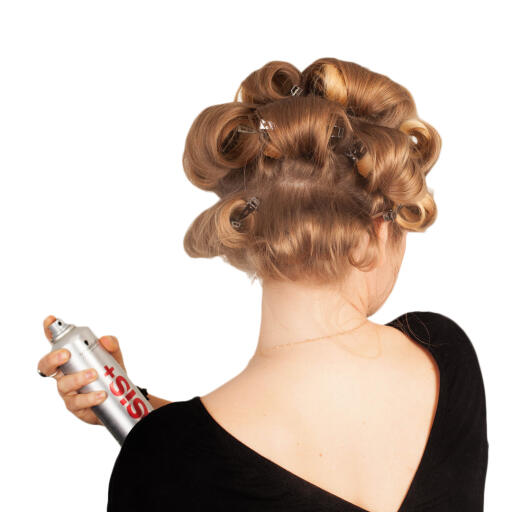
9. When you have fastened all the hair with metalclips, let it cool then spray lightly with hair spray.
10. Release the curls one by one. Now you can choose whether to brush through your hair and finish with hairspray or use a 25mm curling iron to get the final touch. Divide each section into two strands and curl away from the face.
8. Now you are almost there, just the final finale. This is the icing on the cake so take a deep breath or two before you get going.
OK. Let's go.
Divide the remaining two sections into three. You then have six sections left. Here you apply the Blow Dry Cream before you dry your hair. Use the round brush + hairdryer and fasten with metal clips. Finish the remaining sections and remember to blow-dry away from your face.
9. When you have fastened all the hair with metalclips, let it cool then spray lightly with hair spray.
10. Release the curls one by one. Now you can choose whether to brush through your hair and finish with hairspray or use a 25mm curling iron to get the final touch. Divide each section into two strands and curl away from the face.
Well done!